Recording a Performance with the MIDI Recorder
Records keyboard performances and pedal usage as MIDI data.
Main Content Recorded by the MIDI Recorder
When recording with the MIDI Recorder, the following operations and settings are recorded to the Digital Piano’s internal memory.
-
Keyboard and pedal play
-
Tone
-
Tempo
-
Beat
-
Keyboard volume
-
Layer settings (left-hand part track only)
-
Split settings (left-hand part track only)
-
Duet (left-hand part track only)
-
Sound Mode (Hall Simulator/Reverb Type, Hall Simulator/Reverb depth for built-in sound source, Surround Type), Chorus, Brilliance
-
Acoustic Simulator settings
-
Scale Tuning
-
Stretch Tuning
-
Left-hand part track only. However, the setting is also applied to the right-hand part track during playback.
Preparing to Use the MIDI Recorder
Switch the [RePlayer/Recorder] setting to <MIDI Recorder>.
The default setting for [RePlayer/Recorder] on this Digital Piano is <MIDI Recorder>.
-
While holding down the “FUNCTION” button, press the B3 key (MIDI Recorder).
Selecting a Setting Value Directly (operation type A)

-
The Visual Information Bar, second from left, will blink.
-
Recording
Easy use of MIDI Recorder
-
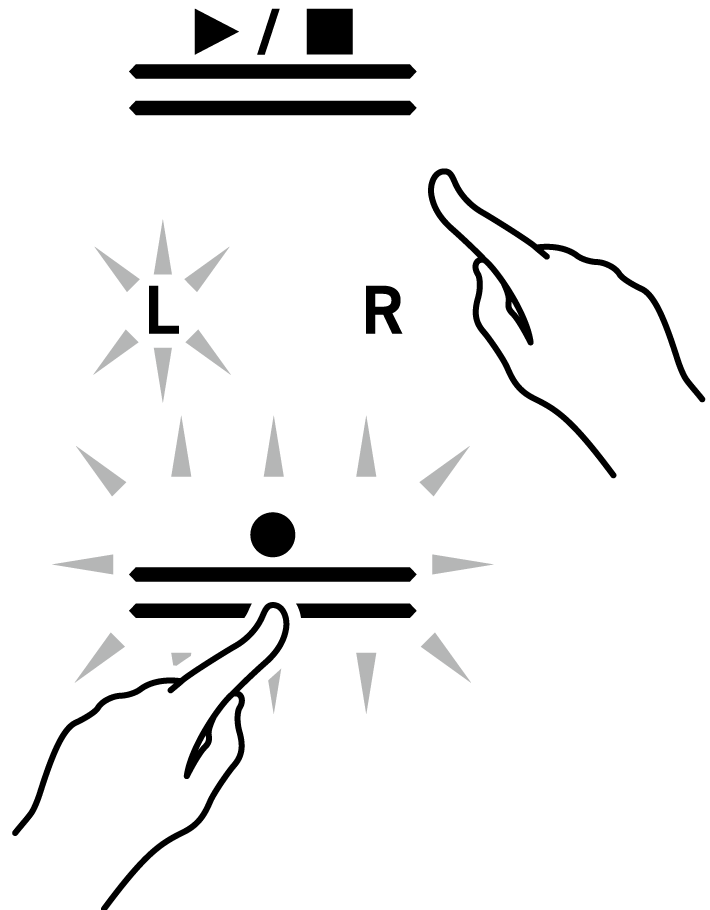
Touch the “0(REC)” button (lit white).
-
The “0(REC)” button will start to blink red to indicate that recording is on standby.
-
-
When you start to play, recording will begin automatically.
-
The “0(REC)” button stops blinking red and changes to lit to indicate that recording is in progress.
-
-
To end recording, touch the “0(REC)” button.
-
The “0(REC)” button will light up white again.
-
-
To play the current recording, touch the “a” button.
-
To stop playback, touch the “a” button again.
-
Recording to the Left-Hand Part Track
Switch [RePlayer/Recorder] to <MIDI Recorder> for operation.
Preparing to Use the MIDI Recorder
-
Set tones, effects, tempo, etc. for recording as necessary.
-
For setting beat and tempo, see “Setting the Beat” and “Setting a Tempo”.
-
For track-by-track recording details, see “Main Content Recorded by the MIDI Recorder”.
-
-
Touch the “0(REC)” button (lit white).
-
Recording goes to standby, and the “0(REC)” button blinks red.
-
The “L” Track Indicator blinks.
-
To stop the recording, touch the “0(REC)” button again.

-
-
To sound the metronome while recording, touch the “METRONOME” button.
-
Recording will begin when you start playing.
-
You can also start recording by holding down the “0(REC)” button and touching the “a” button.
-
The “0(REC)” button switches from blinking to lit, and the “a” button goes off.
-
If you want to redo your recording, see “Starting over from the beginning during a recording”.
-
-
To end recording, touch the “0(REC)” button.
-
The “0(REC)” button will light up white again and the “a” button will light up.
-
To play back the recording immediately, touch the “a” button.
-
Starting over from the beginning during a recording
If you want to redo the recording due to a performance error or other reason, hold down the “0(REC)” button until it flashes during recording. The recorded data is discarded and the process returns to a record standby state.
Overdub Recording (record to the right-hand part track to layer over the recording of the left-hand part track)
Use “Recording to the Left-Hand Part Track” to enter the record standby state before proceeding.
-
Touch and hold the “0(REC)” button until the “R” Track Indicator flashes.
-
The right-hand part track will be recorded.
-
The “L” in the track indicator switches from a blink to lit.

-
-
If you do not want the left-hand part track to play during recording, hold down the “a” button and press the B}1 key (Song Playback Part selection).
Switching On/Off or Changing Setting Values Using a Single Key (operation type D)
-
The “L” Track Indicator goes off.
-
Each time B}1 key is pressed, the “L” Track Indicator switches between lit (Playback) and unlit (No Playback).

-
-
Next, proceed from step 4, “Recording to the Left-Hand Part Track”.
Erasing the Recording of a Track
Operate with <MIDI Recorder>.
Preparing to Use the MIDI Recorder
-
Touch the “0(REC)” button (lit white).
-
Recording goes to standby, and the “0(REC)” button blinks red.
-
The “L” in the track indicator will blink, and the left-hand part track will be erased.

-
-
To erase the right hand-part track, press and hold the “0(REC)” button until the “R” Track Indicator blinks.
-
While holding down the “0(REC)” button, touch the “a” button.
-
The “0(REC)” button switches from blinking to lit.
-
-
Hold down the “0(REC)” button until it blinks.
-
The recording of the specified track will be erased.
-
-
Touch the “0(REC)” button to exit record standby.