Recording a Performance with the Audio Recorder
Records keyboard performances and pedal usage as audio data. Recordings are saved in WAV file format (linear PCM, 16 bit, 44.1 kHz, stereo) to a USB flash drive connected to the USB Type A port.
Preparing to Use the Audio Recorder
Connect a USB flash drive to the USB Type A port of the Digital Piano.
For information on using USB flash drives, see “Inserting/Removing a USB Flash Drive from the Digital Piano”.
Switch the [Recorder] setting to <Audio Recorder>.
-
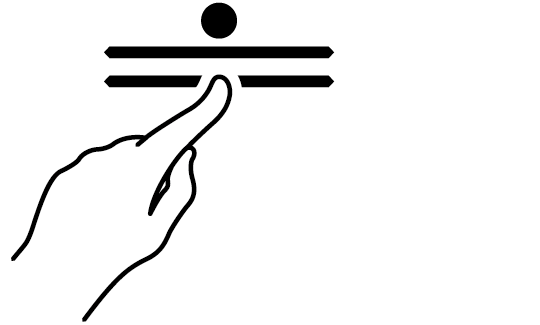
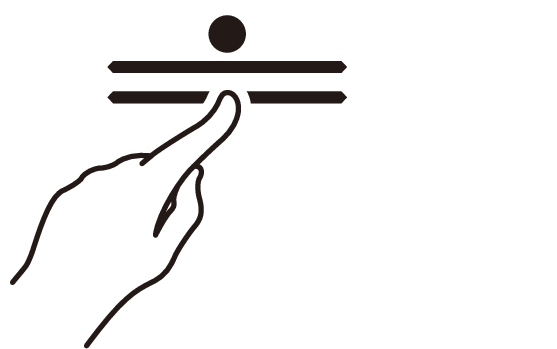
While holding down the “FUNCTION” button, press the C4 key (Audio Recorder).
Selecting a Setting Value Directly (operation type A)

Recording Audio Recorder Songs (WAV) Directly to a USB Flash Drive
Operate with <Audio Recorder>.
Preparing to Use the Audio Recorder
-
Touch the “0(REC)” button (lit white).
-
Recording goes into standby and the “0(REC)” button blinks red.
-
To stop the recording, touch the “0(REC)” button again.

-
-
Recording will begin when you start playing.
-
You can also start recording by holding down the “0(REC)” button and touching the “a” button.
-
The “0(REC)” button switches from a blink to lit, and the “a” button goes off.
-
-
To end recording, touch the “0(REC)” button.
-
The “0(REC)” button will light up white again and the “a” button will light up.
-
-
To play the recording, touch the “a” button.
When you want to start over from the beginning during a recording
If you want to redo the recording due to a performance error or other reason, hold down the “0(REC)” button until it flashes during recording. The recorded data is discarded and the process returns to a record standby state.
Recording to the Audio Recorder while Playing Back Data Recorded to the MIDI Recorder
-
While holding down the “FUNCTION” button, press the C{4 key (Audio Rec with MIDI playback).
Selecting a Setting Value Directly (operation type A)

-
Attach the USB flash drive to the USB Type A port.
-
Touch the “0(REC)” button (lit white).
-
Recording goes into standby and the “0(REC)” button blinks red.
-
The track indicator of the part being recorded with the MIDI Recorder will light up.

-
-
To set the playback part, hold down the “a” button and press the B}1 key (Song Playback Part selection).
Switching On/Off or Changing Setting Values Using a Single Key (operation type D)
-
The “L” and “R” track indicators light up respectively.

Track Indicator
Setting Details
Only L lights up
Plays the left-hand part and mutes the right-hand part.
Only R lights up
Plays the right-hand part and mutes the left-hand part.
Both L & R light up
Both left and right parts are played back.
-
-
Recording will begin when you start playing.
-
The MIDI Recorder Song will play as recording begins.
-
You can also start recording by holding down the “0(REC)” button and touching the “a” button.
-
The beat indicator lights up in time with the beat.
-
If you want to redo your recording, see “When you want to start over from the beginning during a recording”.
-
-
To end recording, touch the “0(REC)” button.
-
The “0(REC)” button will light up white again and the “a” button will light up.
-
To play the recording immediately, touch the “a” button.
-
Deleting a Recorded File
Operate with <Audio Recorder>.
Preparing to Use the Audio Recorder
-
Hold down the “a” button and select the file to be deleted with the corresponding key.

-
Use the A0 to F{1 keys to specify the TAKE**.WAV (** is 01-99) number
Inputting Setting Values Using the Keys 0 to 9 (operation type C)
-
Use keys B2/C3 (Song Select –/Song Select +) to specify previous/next song number
Using the +/– Keys to Raise or Lower the Setting Value by 1 (operation type B)
-
-
While holding down the “FUNCTION” button, press the B1 key (Delete SMF/MRF/Audio).
Putting in Standby Mode, and Executing on Next Key Press (operation type E)
-
Do not release the “FUNCTION” button until the next operation is complete.

-
-
While holding down the “FUNCTION” button, press the C1 key (Execute).
-
The file is deleted.

-
