About This Watch
This section provides an overview of the watch and introduces convenient ways it can be used.
Watch Features
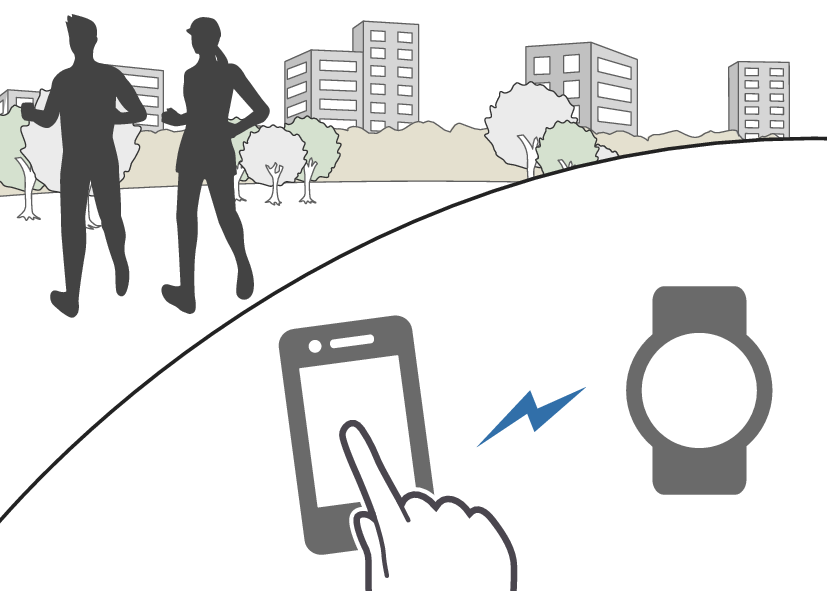
You can transfer training data to a Bluetooth® capable phone and manipulate it using applications.
Use this mode to measure and record distance, elapsed time, pace, and other running and walking data.
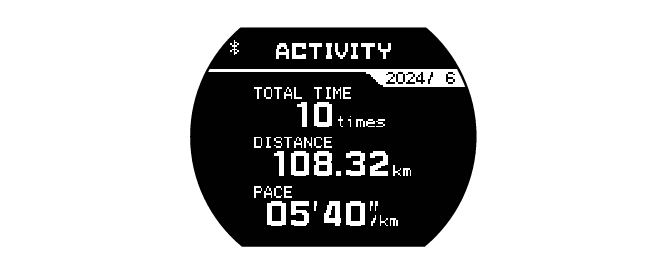
The Training Log can store up to 100 records of data acquired during run timing.
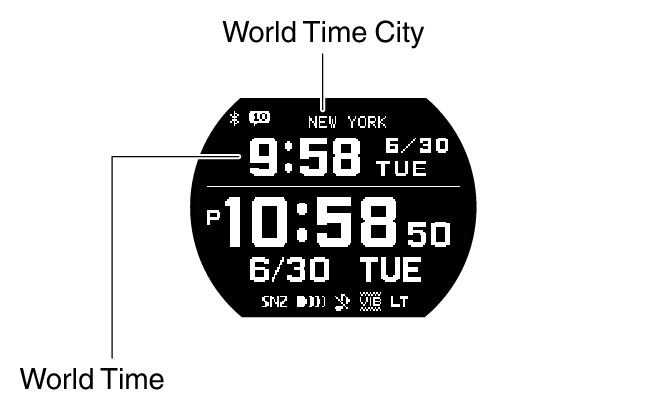
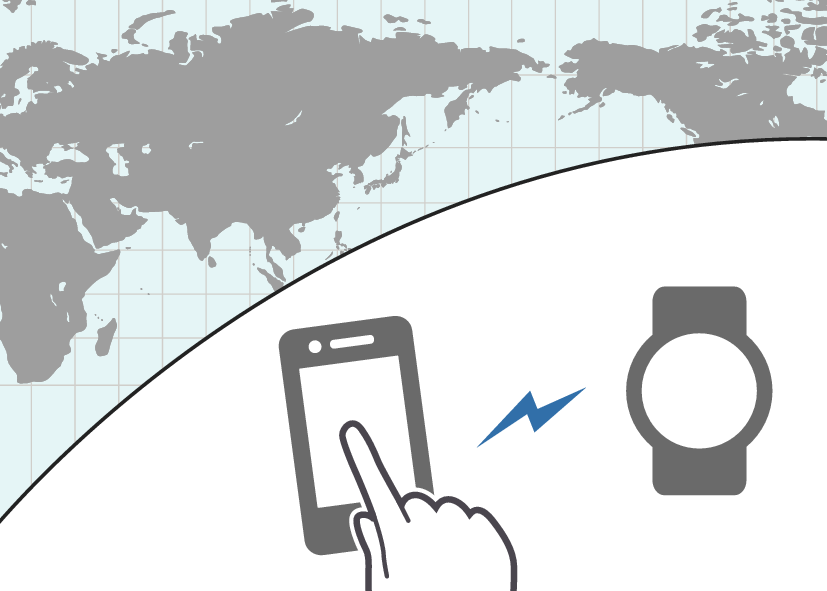
You can display the current time in any one of 38 cities* around the globe, as well as for UTC (Coordinated Universal Time).
Subject to being updated when connected with a phone.
The watch performs a sound and/or vibration operation when a preset alarm time is reached.
Use the timer to perform a countdown from a start time. The watch performs a sound and/or vibration operation when the countdown reaches zero.
The stopwatch measures up to 99 hours, 59 minutes, 59 seconds of elapsed time in one-second units.
Note
The illustrations included in this operation guide have been created to facilitate explanation. An illustration may differ somewhat from the item it represents.
Before using the Training Function, configure your profile settings. This will help you obtain more accurate values.
Depending on the version of your watch’s software, its operations and display contents may differ from those described in this Operation Guide.
General Guide
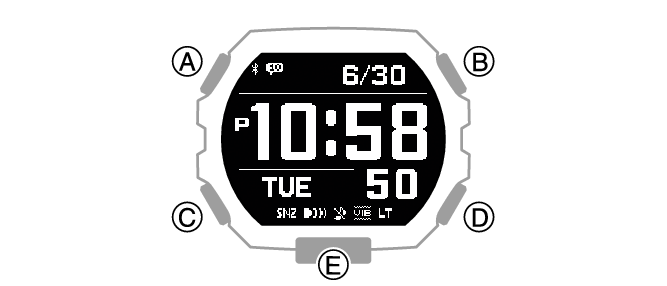
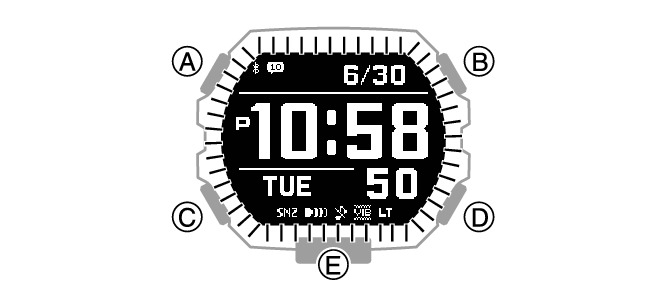
A button
Pressing this button in any mode cycles between displays.
While a setting screen is displayed, pressing this button scrolls available menu items upwards.
B button
In the Timekeeping Mode, pressing this button enters the Training Mode.
Pressing this button while any mode’s setting screen is displayed applies all of the screen’s pending settings or changes.
C button
Hold down this button for at least one second to return to the Timekeeping Mode. Pressing this button while a run timing operation is in progress returns to the run timing screen.
Pressing this button while a setting screen is displayed scrolls available menu items downwards.
D button
In other modes, pressing this button returns to the Timekeeping Mode.
While configuring settings, pressing this button goes back to the previous screen.
E button
Press to turn on illumination.
Creating Your Profile
You can use the procedure in this section to input information and create a profile (height, weight, gender, date of birth, wrist where watch is worn).
-
Enter the Timekeeping Mode.
-
Hold down (A) for at least two seconds.
-
Use (A) and (C) to move the pointer to [PROFILE].
-
Press (B).
-
Use (A) and (C) to select the item you want to input.
-
Press (B).
-
Record your height and weight.
-
Use (A) and (C) to input your height.
-
Press (B).
-
Use (A) and (C) to input your weight.
-
Press (B).
-
Use (A) and (C) to select whether or not you want to save the current input values.
-
Press (B) to register your height and weight.
-
Specify your gender.
-
Use (A) and (C) to move the pointer to [MALE] or [FEMALE].
-
Press (B) to register your gender.
-
Specify your date of birth.
-
Use (A) and (C) to specify a year.
-
Press (B).
-
Use (A) and (C) to specify a month.
-
Press (B).
-
Use (A) and (C) to specify a day.
-
Press (B).
-
Use (A) and (C) to select whether or not you want to save the current input values.
-
Press (B) to register your date of birth.
-
Specify the wrist where you wear the watch.
-
Use (A) and (C) to move the pointer to [LEFT] or [RIGHT].
-
Press (B) to register your wrist setting.
-
Press (D) twice to exit the setting screen.
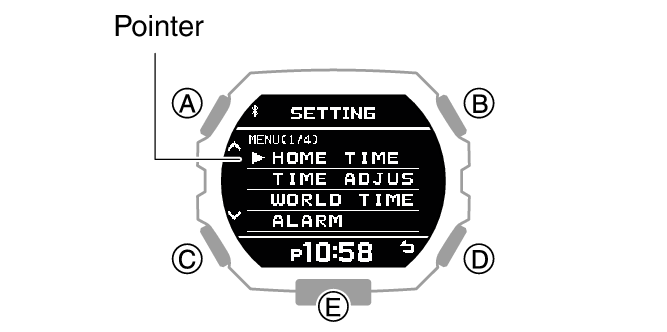
This displays the Timekeeping Mode setting screen.
This displays the profile item selection screen.
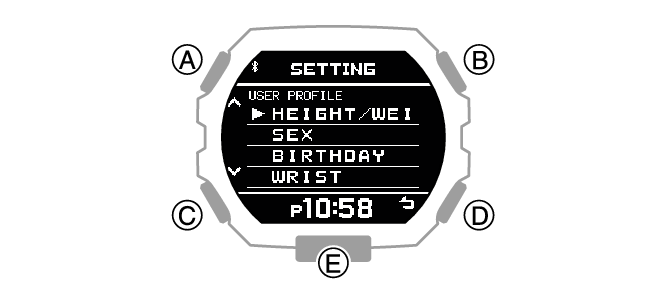
|
[HEIGHT/WEIGHT] |
Height/weight |
|
[SEX] |
Gender |
|
[BIRTHDAY] |
Date of birth |
|
[WRIST] |
Wrist where you wear the watch |
On the profile item selection screen, select [HEIGHT/WEIGHT].
|
[YES] |
Saves current settings. |
|
[NO] |
Discards current settings. |
|
[RETURN] |
Returns to the height and weight setting screen. |
After registration of the information is complete, [SETTING COMPLETED] will appear for a few seconds, and then the profile item selection screen will re-appear.
Note
To exit the height and weight setting operation at any point, press (D) and advance to step  .
.
On the profile item selection screen, select [SEX].
After registration of the information is complete, [SETTING COMPLETED] will appear for a few seconds, and then the profile item selection screen will re-appear.
On the profile item selection screen, select [BIRTHDAY].
|
[YES] |
Saves current settings. |
|
[NO] |
Discards current settings. |
|
[RETURN] |
Returns to the date of birth setting screen. |
After registration of the information is complete, [SETTING COMPLETED] will appear for a few seconds, and then the profile item selection screen will re-appear.
Note
To exit the date of birth setting operation at any point, press (D) and advance to step  .
.
On the profile item selection screen, select [WRIST].
After registration of the information is complete, [SETTING COMPLETED] will appear for a few seconds, and then the profile item selection screen will re-appear.
Note
The watch exits the setting operation automatically after about two or three minutes of non-operation.
Indicators
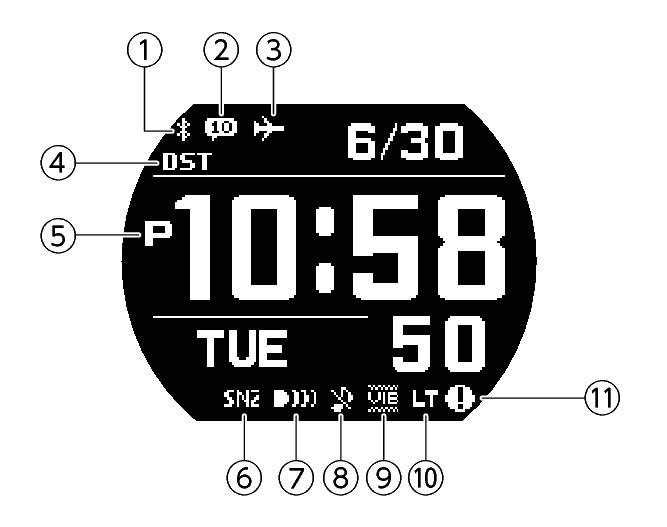
-
Displayed while there is connection between the watch and a phone.
-
Indicates the number of new phone notifications.
-
Displayed while the Airplane Mode is enabled.
-
Displayed when the indicated time is summer time.
-
Displayed during p.m. times while 12-hour timekeeping is being used.
-
Displayed when the alarm snooze function is enabled.
-
Displayed when an alarm is enabled.
-
Displayed while the operation sound or notification sound is disabled.
-
Displayed while vibration is enabled.
-
Displayed while Auto Light is enabled.
-
Displayed when battery voltage is low. Flashes when battery voltage is momentarily low.
While re-connection with your phone is being attempted after loss of the connection, this indicator flashes at one-second intervals.
While re-connection with your phone is not being attempted after loss of the connection, this indicator flashes at two-second intervals.
Battery Replacement
 appears on the display when battery voltage goes low. Have the battery replaced.
Request battery replacement from a CASIO service center or your original retailer.
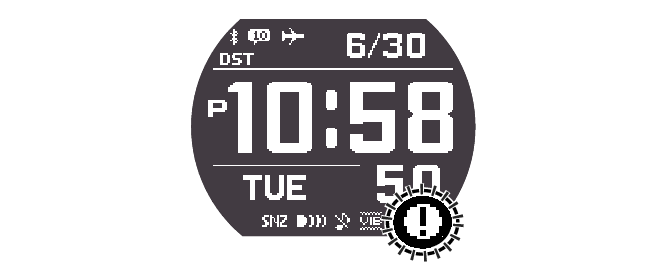
When there is a momentarily large load on the battery, battery voltage will go low and will flash on the display. All watch button operation is disabled while is flashing.
Navigating Between Modes
Your watch has the modes shown below.
You can also return to the Timekeeping Mode directly from any mode besides the Training Mode by holding down (C) for at least one second, or by pressing (D).
In the Timekeeping Mode, pressing (B) enters the Training Mode.
To go from the Training Mode to the Timekeeping Mode, first stop training measurement and then press (D).
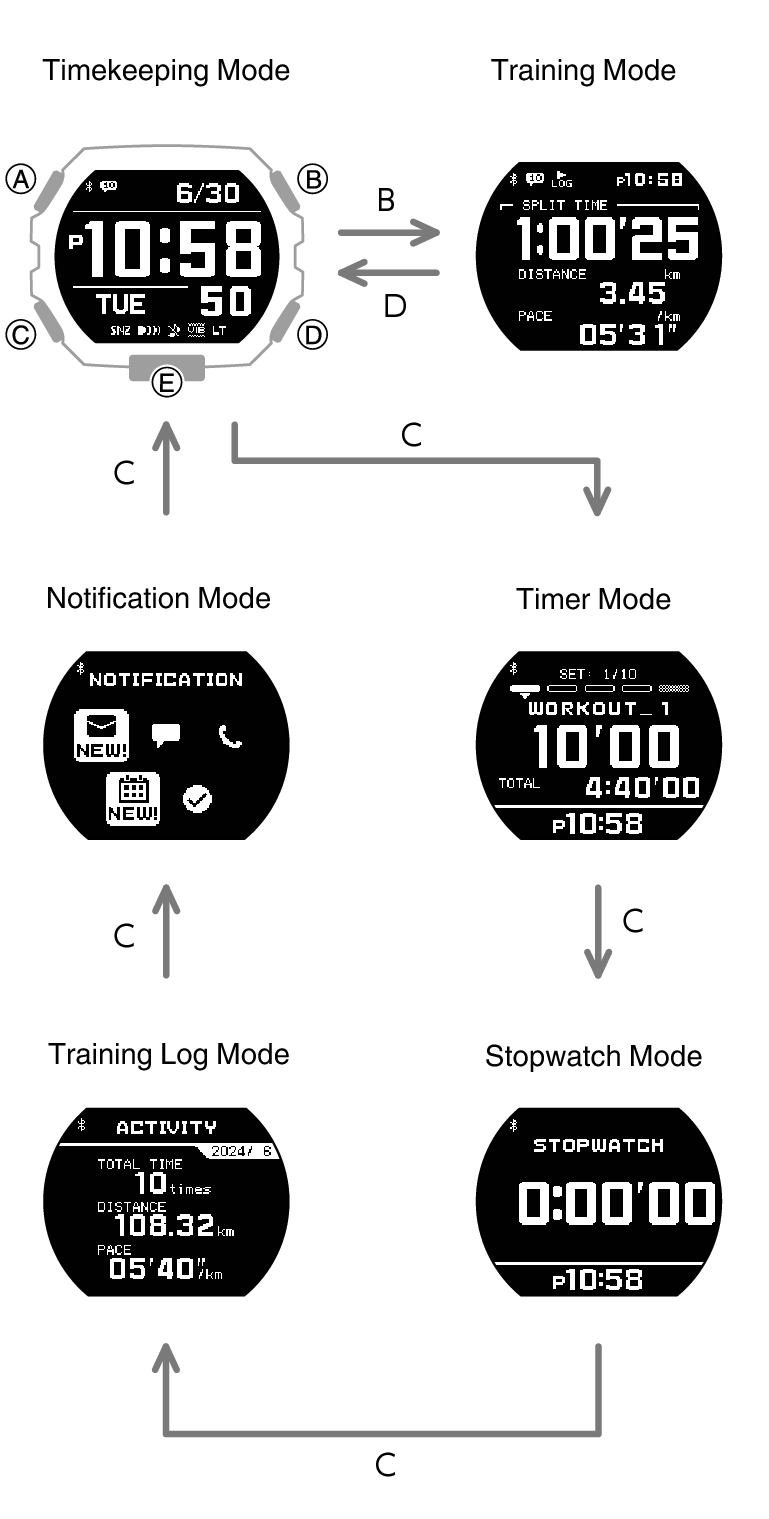
Use the buttons in the illustration above to navigate between modes.
Mode Overview
This section provides an overview of the modes of your watch.
Timekeeping Mode
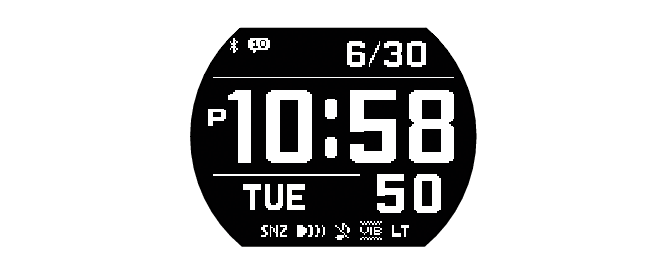
You can use the Timekeeping Mode to check the current time and date, and to view your daily step count, your running distance for a specific month, and other information. You can also use this mode to configure Home City, alarm, and other basic timekeeping settings.
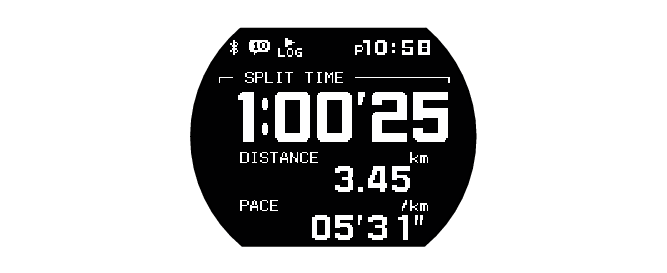
Training Mode
Use this mode to measure and record distance, elapsed time, pace, and other running data.
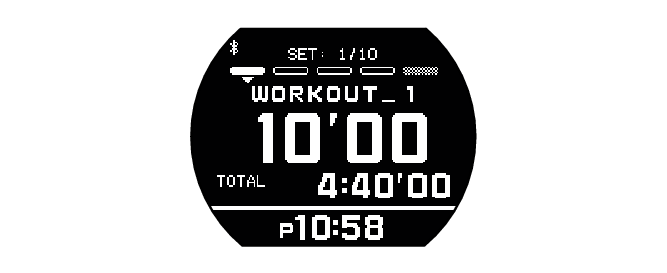
Timer Mode
The timer counts down from a start time specified by you. The watch performs a sound and/or vibration operation when the end of the countdown is reached.
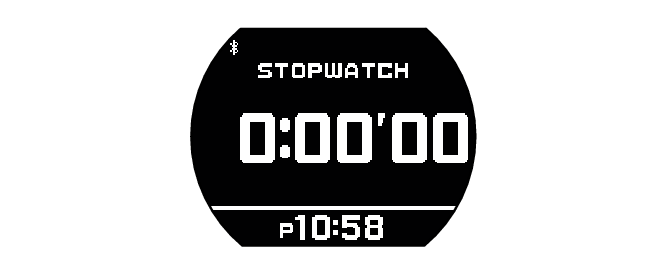
Stopwatch Mode
Training Log Mode
Notification Mode
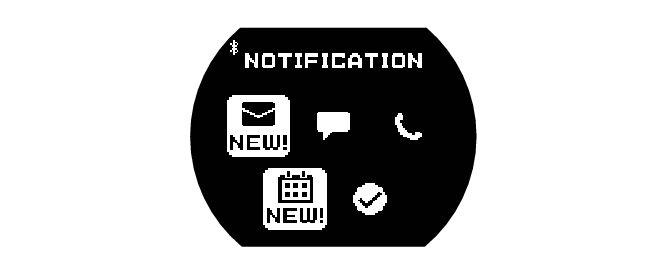
The Notification Mode receives incoming call, mail, and SNS notifications and information.
Selecting a Timekeeping Mode Digital Display Format
Each press of (A) in the Timekeeping Mode cycles display contents as shown below. Note that you can display the current time along with one other type of information.
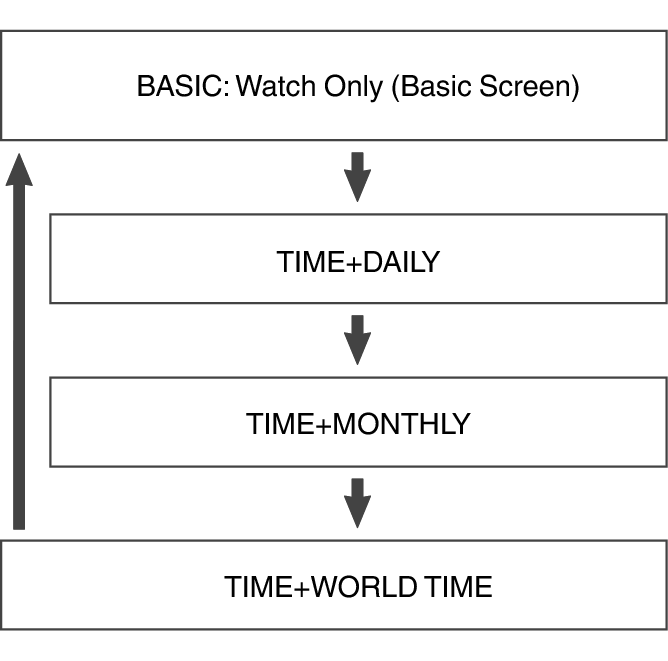
BASIC: Watch Only (Basic Screen)
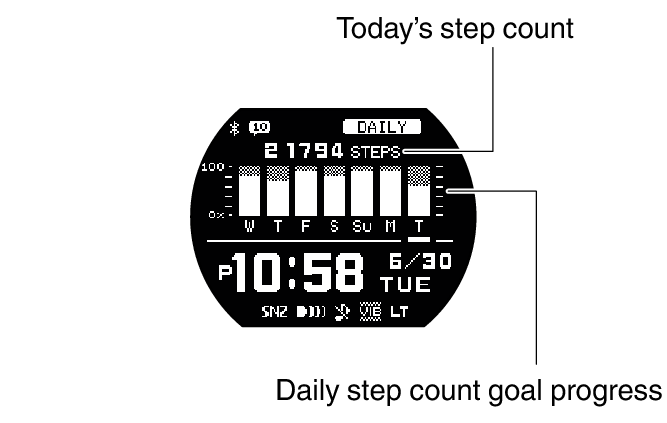
TIME+DAILY: Current Time + Weekly Information
This screen shows the current time, today’s step count, and daily step count goal progress.
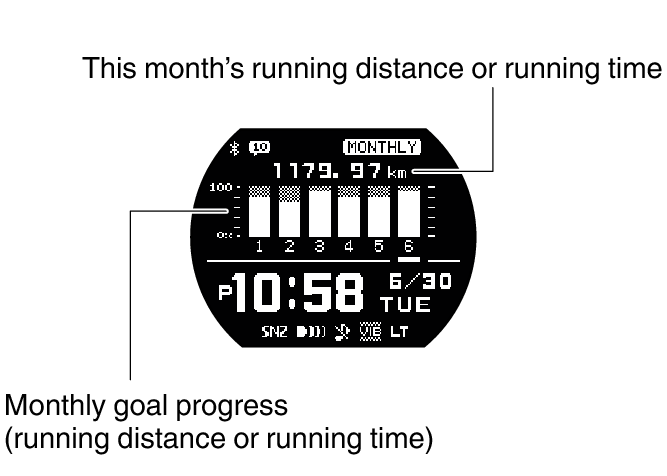
TIME+MONTHLY: Current Time + Monthly Information
This screen shows the current time, the current month’s running distance, and monthly running distance goal progress. Instead of running distance, you could also specify display of running time. Note that you must use the “CASIO WATCHES” app to specify which item (running distance or running time) should be displayed.
TIME+WORLD TIME: Current Time + World Time
Viewing the Face in the Dark
The watch has a light that illuminates the face for viewing in the dark.
To illuminate the face manually
Press (E) to turn on illumination.
Illumination will turn off automatically if an alarm starts to sound.
Important!
Frequent use of illumination runs down the battery.
Note
Display illumination is disabled when any one of the conditions below exists.
While an alarm sound, timer sound, and/or vibration operation is in progress
To illuminate the face when Auto Light is enabled
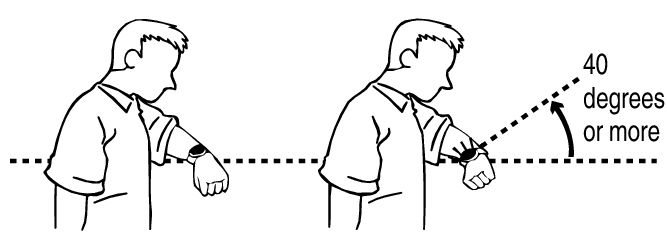
If Auto Light is enabled, face illumination will turn on automatically whenever the watch is positioned at an angle of 40 degrees or more.
Important!
Auto Light may not operate properly when the watch is at a horizontal angle of 15 degrees or greater from horizontal as shown in the illustration below.

Electro-static charge or magnetism can interfere with proper auto light operation. If this happens, try lowering your arm and then angle it towards your face again.
When moving the watch you may note a slight rattling sound. This is due to operation of the auto light switch, which determines the current orientation of the watch. It does not indicate malfunction.
Note
Auto Light is disabled when any one of the conditions below exists.
While an alarm sound, timer sound, and/or vibration operation is in progress
Configuring the Auto Light Setting
-
Enter the Timekeeping Mode.
-
Hold down (A) for at least two seconds.
-
Use (A) and (C) to move the pointer to [LIGHT].
-
Press (B).
-
Use (A) and (C) to move the pointer to [AUTO LIGHT].
-
Press (B).
-
Use (A) and (C) to move the pointer to [OFF] (disabled) or [ON] (enabled).
-
Press (B) to complete the setting operation.
-
Press (D) twice to exit the setting screen.
This displays the Timekeeping Mode setting screen.
The [LT] indicator is displayed in the Timekeeping Mode while Auto Light is enabled.
After the setting operation is complete, [SETTING COMPLETED] will appear for a few seconds, and then the illumination setting screen will re-appear.
Note
If you do not disable it manually, Auto Light remains enabled for approximately six hours. After that, it becomes disabled automatically.
The watch exits the setting operation automatically after about two or three minutes of non-operation.
Specifying the Illumination Duration
You can select either 1.5 seconds or three seconds as the illumination duration.
-
Enter the Timekeeping Mode.
-
Hold down (A) for at least two seconds.
-
Use (A) and (C) to move the pointer to [LIGHT].
-
Press (B).
-
Use (A) and (C) to move the pointer to [DURATION].
-
Press (B).
-
Use (A) and (C) to select an illumination duration.
-
Press (B) to complete the setting operation.
-
Press (D) twice to exit the setting screen.
This displays the Timekeeping Mode setting screen.
|
[1.5 SEC.] |
1.5-second illumination |
|
[3.0 SEC.] |
3-second illumination |
After the setting operation is complete, [SETTING COMPLETED] will appear for a few seconds, and then the illumination setting screen will re-appear.
Note
The watch exits the setting operation automatically after about two or three minutes of non-operation.
Useful Features
Pairing the watch with your phone makes a number of the watch’s features easier to use.
Auto time correction
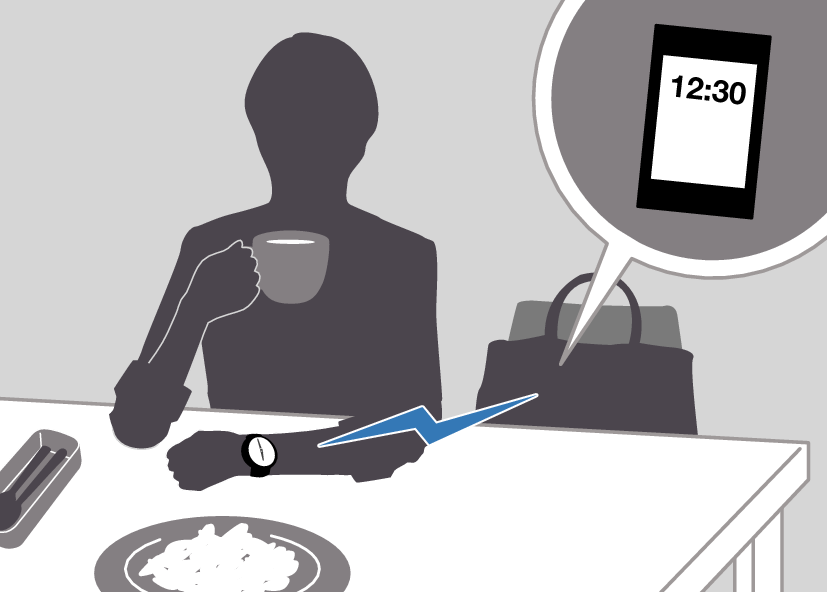
Data transfer to a phone
Selection of More Than 300 World Time cities
In addition, a number of other watch settings can be configured using your phone.
To transfer data to a watch and to configure settings, you first need to pair the watch with your phone.
Your phone needs to have the “CASIO WATCHES” phone app installed to pair with the watch.