About This Watch
This section provides an overview of the watch and introduces convenient ways it can be used.
Watch Features
Sunlight and artificial light generate electricity for watch operation as it charges.
The watch receives a radio signal containing time information and uses it to keep its time setting accurate.
Displays the current time in any one of 38 cities around the globe and UTC. You can select up to five cities in the World Time Mode.
An alarm sounds whenever a time specified by you is reached.
The stopwatch measures elapsed time in units of one second (1/100 second for the first hour) up to 24 hours.
Countdown from a start time specified by you. An alarm sounds when the countdown reaches zero.
Note
The illustrations included in this operation guide have been created to facilitate explanation. An illustration may differ somewhat from the item it represents.
General Guide
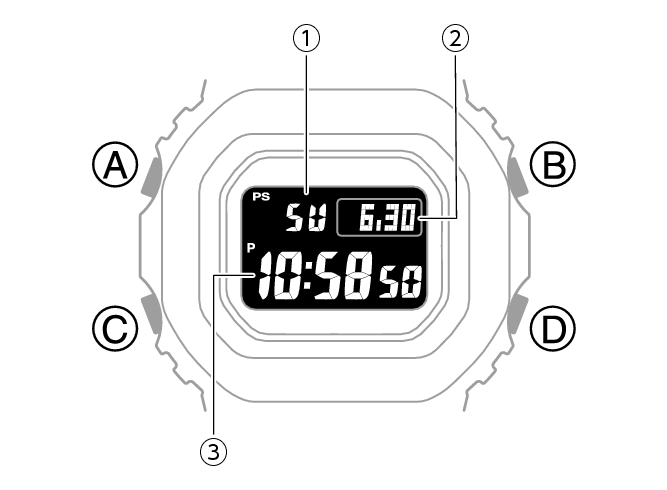
-
Day of the week
-
Month, day
-
Hour, minute, second
A button
Holding down this button for at least two seconds in any mode displays the setting screen.
B button
Press to turn on illumination.
Pressing this button while any setting screen is displayed changes the setting.
C button
Each press cycles between watch modes.
D button
Pressing this button while any setting screen is displayed will change the setting.
Indicators
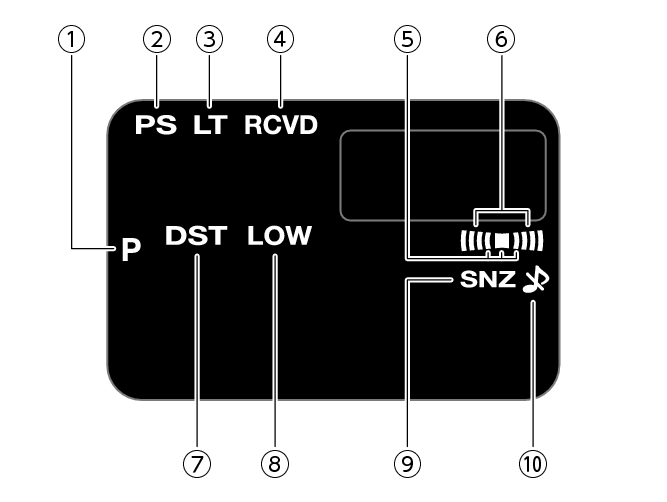
-
Displayed during p.m. times while 12-hour timekeeping is being used.
-
Displayed while Power Saving is enabled.
-
Displayed while Full Auto Light is enabled.
-
Appears when the time signal receive operation is successful.
-
Displayed while the hourly time signal is enabled.
-
Displayed while an alarm is turned on.
-
Displayed while the watch is indicating summer time.
-
Flashes when battery power is low.
-
Displayed while the snooze alarm is turned on.
-
Displayed while the button operation tone is disabled.
Navigating Between Modes
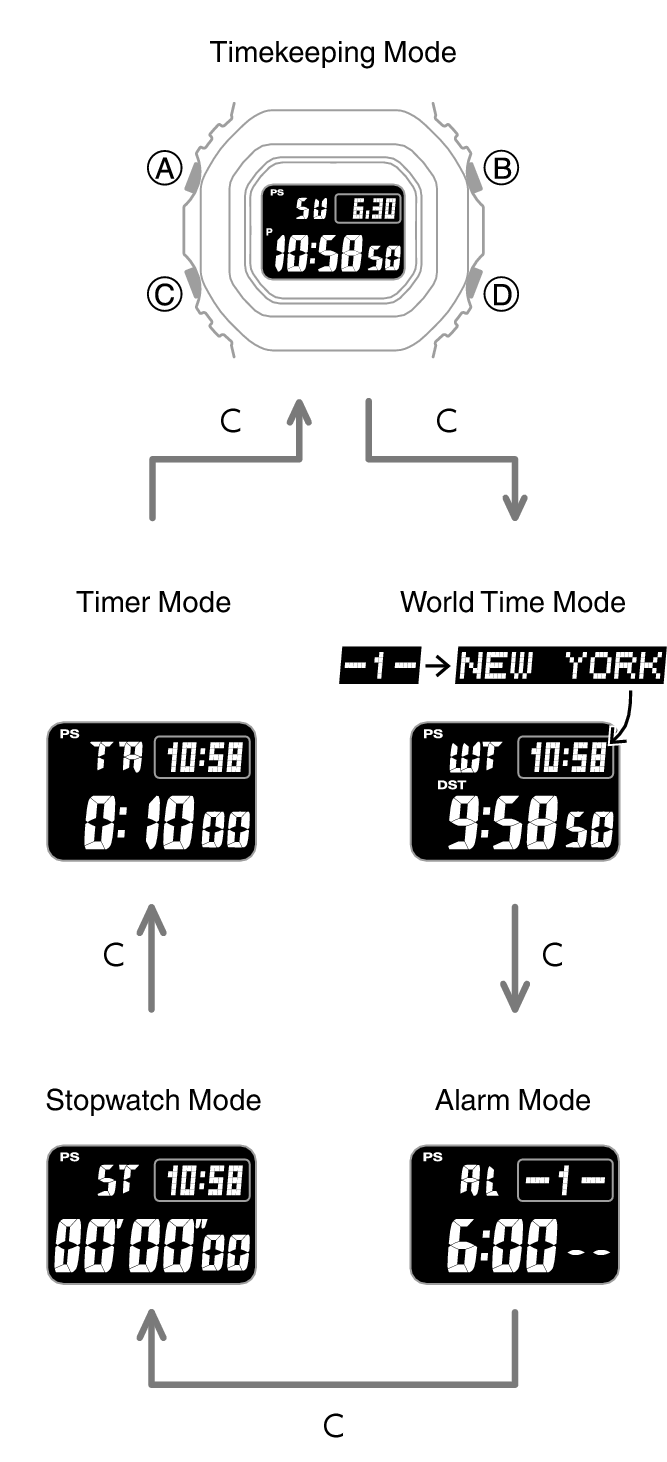
Each press of (C) cycles between watch modes.
In any mode, hold down (C) for at least one second to return to the Timekeeping Mode.
Charging
This watch runs on power supplied from a rechargeable (secondary) battery that is charged by a solar panel. The solar panel is integrated into the face of the watch, and power is generated whenever the face is exposed to light.
Charging the Watch
When you are not wearing the watch, put it in a location where it is exposed to bright light.
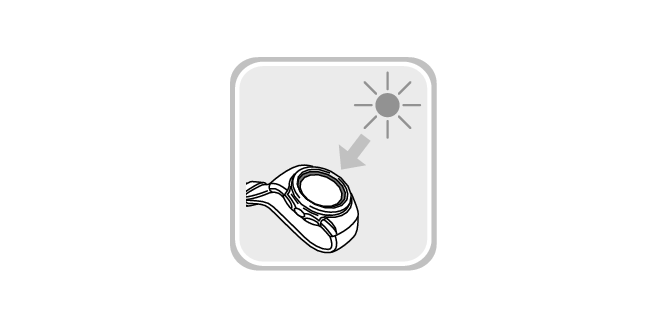
While you are wearing the watch, make sure that its face (solar panel) is not blocked from light by the sleeve of your clothing. Power generation efficiency is reduced even when the face of the watch is blocked only partially.
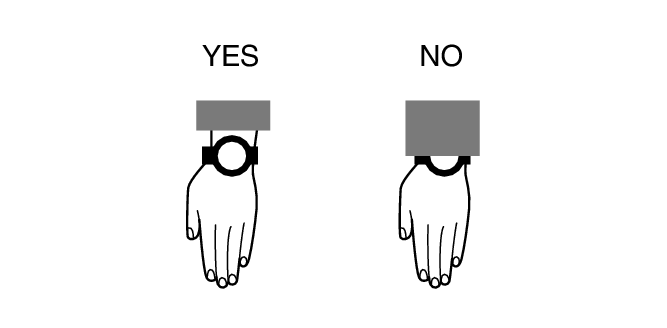
Important!
Some light sources and environments can cause the watch to become extremely hot during charging, which creates the risk of burn injury and damage to internal watch components.
Avoid charging the watch under conditions like the ones described below, where the temperatures may exceed 60 °C (140 °F).
On the dashboard of a vehicle parked in the sun
Near incandescent lamps, camera lights, halogen lamps, or other sources of heat
In locations exposed to direct sunlight for long periods and other hot locations
The display panel may become white under very high temperatures. This is temporary, and the display will return to normal at lower temperatures.
Low Battery
A low battery will cause [LOW] to flash and will disable the functions below.
Time signal reception
Illumination
Sounds (alarm, etc.)
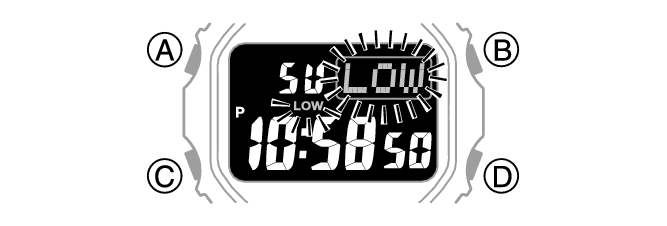
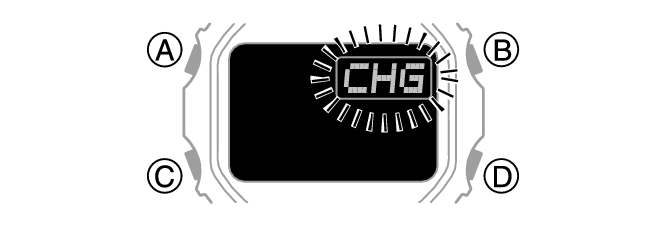
If the charge level drops even further, [CHG] will flash. If this happens, all functions are disabled.
Dead Battery
The digital display will go blank if the battery goes dead. This also clears all data.
Important!
Should the battery go low or go dead, expose the face (solar panel) to light as soon as possible.
After the battery runs out, exposing the watch to light causes [CHG] to appear after a short while. Keep the watch exposed to light until the current time appears on the display.
Note
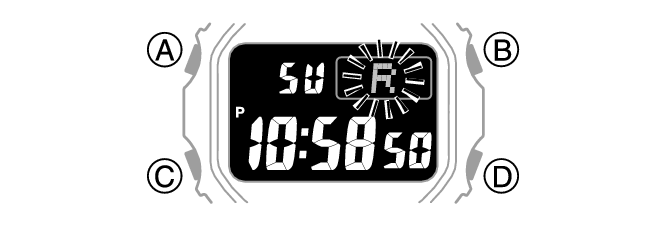
If [R] is flashing, it means that all functions, except for timekeeping, are disabled due to high momentary battery power consumption.
Charging Time Guidelines
The table below shows guidelines for approximate charging times.
Charging Times Required for 1 Day of Operation
|
Light Level (Lux) |
Approximate Charging Time |
|---|---|
|
50,000 |
5 minutes |
|
10,000 |
24 minutes |
|
5,000 |
48 minutes |
|
500 |
8 hours |
Charge Recovery Times
Sunny day, outdoors (50,000 lux)
|
Dead battery |
2 hours |
|
Medium charge |
21 hours |
|
High charge |
6 hours |
 Medium charge
Sunny day, near a window (10,000 lux)
|
Dead battery |
8 hours |
|
Medium charge |
107 hours |
|
High charge |
29 hours |
Overcast day, near a window (5,000 lux)
|
Dead battery |
16 hours |
|
Medium charge |
216 hours |
|
High charge |
58 hours |
Indoor fluorescent lighting (500 lux)
|
Dead battery |
212 hours |
|
Medium charge |
- |
|
High charge |
- |
Note
Actual charging time depends on the charging environment, watch settings, and other factors.
Power Saving Function
Leaving the watch in a dark location for about one hour between the hours of 10 p.m. and 6 a.m. will cause the display to go blank, and the watch to enter Level 1 power saving. If the watch is left in this condition for six or seven days, the watch will enter Level 2 power saving.
Power Saving Level 1:
Digital display goes blank to save power.
Power Saving Level 2:
Digital display goes blank to save power. All functions are disabled.
Recovering from Power Saving Operation
Use one of the operations below to exit power saving.
Press any button.
Move the watch to a bright location.
Trigger Full Auto Light by angling the watch towards your face.
Note
The watch will not enter power saving in the cases below.
While in the Stopwatch Mode
While in the Timer Mode
You can enable or disable Power Saving.
Note that the watch also may enter power saving if its face is blocked from light by your sleeve while you are wearing it.
Viewing the Face in the Dark
The watch has a light that illuminates the face for viewing in the dark.
Important!
Frequent use of illumination runs down the battery.
To illuminate the face manually
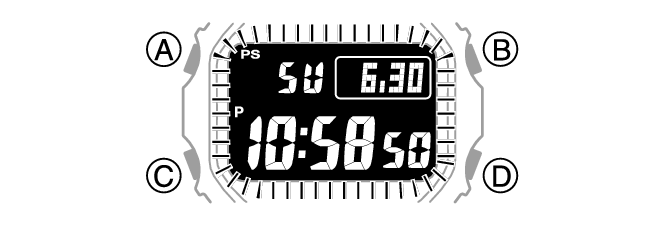
Press (B) to turn on illumination.
Illumination turns off automatically if an alarm starts to sound.
Note
Display illumination is disabled when any one of the conditions below exists.
While an alarm, timer alert, or other beeper is sounding
While a time signal receive operation is in progress
To illuminate the face when Auto Light is enabled
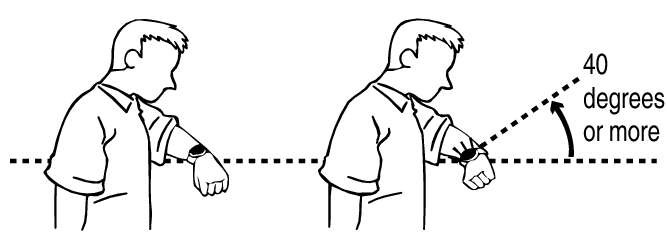
If Full Auto Light is enabled, face illumination turns on automatically whenever the watch is positioned at an angle of 40 degrees or more.
Important!
Auto Light may not operate properly when the watch is at a horizontal angle of 15 degrees or greater from horizontal as shown in the illustration below.

Auto Light may operate unintentionally and run down the battery if the watch is blocked from light by your sleeve.
Electro-static charge or magnetism can interfere with proper Full Auto Light operation. If this happens, try lowering your arm and then angle it towards your face again.
When moving the watch you may note a slight rattling sound. This is the sound of Full Auto Light switch operation and does not indicate malfunction.
Note
Auto Light does not operate when available lighting is bright.
Full Auto Light is disabled when any one of the conditions below exists.
While an alarm, timer alert, or other beeper is sounding
While a time signal receive operation is in progress
Configuring the Full Auto Light Setting
-
Enter the Timekeeping Mode.
-
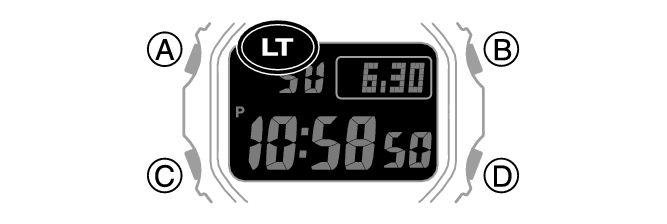
Hold down (B) for at least three seconds to toggle Full Auto Light between enabled and disabled.
[LT] is displayed while Full Auto Light is enabled.
Note
Full Auto Light is disabled while [CHG] is flashing on the display.
Specifying the Illumination Duration
You can select either two seconds or four seconds as the illumination duration.
-
Enter the Timekeeping Mode.
-
Hold down (A) for at least two seconds. Release the button when [HT] starts to flash.
-
Press (C) 12 times.
-
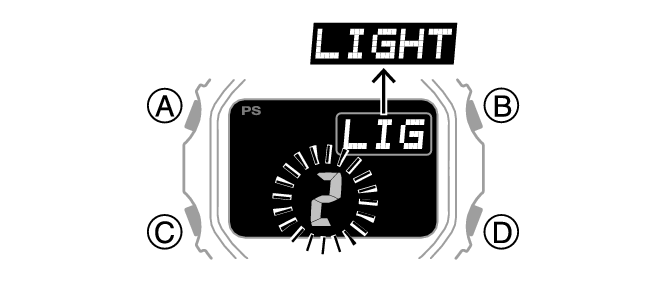
Press (D) to select an illumination duration.
-
Press (A) to complete the setting operation.
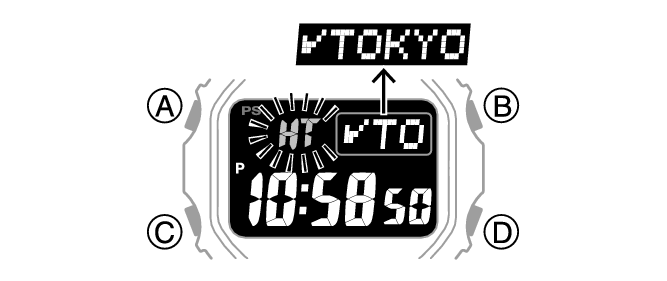
This causes [2] or [4] to flash on the display.
[2]: 2-second illumination
[4]: 4-second illumination
Note
While the setting is being configured, the watch will exit the setting operation automatically after about two or three minutes of non-operation.