Getting Started
Attaching and Removing the Front Cover
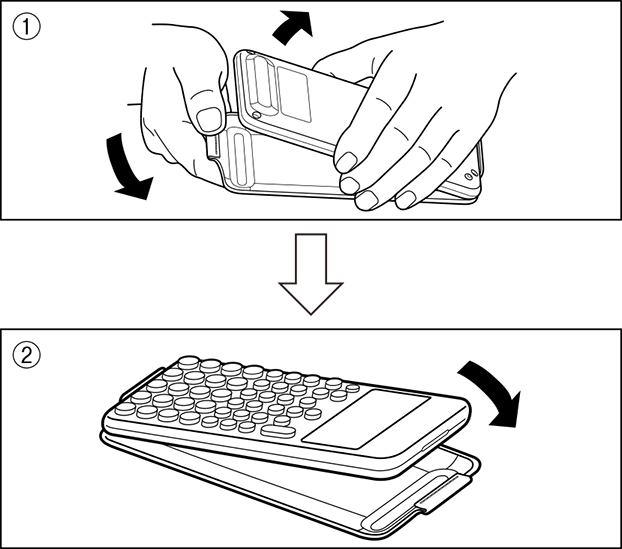
To remove the front cover
Before using the calculator, remove the front cover (①) and attach it to the back (②).
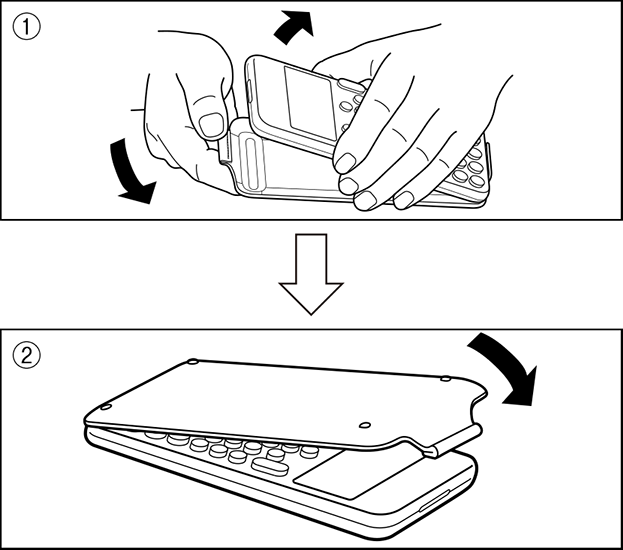
To attach the front cover
When you are not using the calculator, remove the front cover (①) and attach it to the front (②).
Important!
Always attach the front cover to the calculator whenever you are not using it. Otherwise, accidental operation of the  key can cause the power to turn on and run down the battery.
Turning Power On and Off
Press to turn on the calculator.
Press 
 (OFF) to turn off the calculator.
Note
To turn on power, long-press . To avoid turning on power accidentally, the top of key is slightly lower than the other keys.
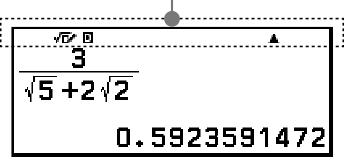
If the screen shown below appears right after you turn on power, it means that remaining battery power is low.

If this screen appears, replace the battery as soon as possible. For details about battery replacement, see "Replacing the Battery".
The calculator also will turn off automatically after approximately 10 minutes or 60 minutes of non-use. Press the key to turn the calculator back on.
HOME Screen
Pressing  displays the HOME screen. The HOME screen shows a list of installed calculator apps.

| HOME Screen | Calculate App Screen |
For information about installed calculator apps, see "Installed Calculator App List".
Adjusting Display Contrast
1. Press , select a calculator app icon, and then press  .
.
2. Press  , and then select [System Settings] > [Contrast].
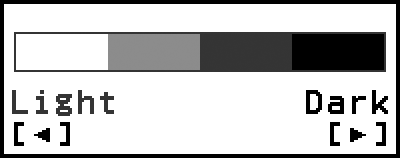
3. Use  and
and  to adjust display contrast.
4. After the setting is the way you want, press .
Important!
If adjusting display contrast does not improve display readability, it probably means that battery power is low. Replace the battery.
Key Markings
Pressing the key followed by a second key performs the alternate function of the second key. The alternate function is indicated by the text printed above the key, on the left.
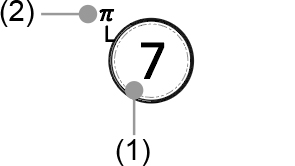
(1) Keycap function: 
(2) Alternate function: (π)
Indicators
Indicators
The table below describes indicators that appear at the top of the screen.
| This indicator: | Means this: |
|---|---|
 |
The keypad has been shifted by pressing the key. The keypad will unshift and this indicator will disappear when you press a key. |
 |
MathI/MathO or MathI/DecimalO is selected for Input/Output on the SETTINGS menu. |
 / /  / /  |
Current setting of Angle Unit (: Degree, : Radian, or : Gradian) on the SETTINGS menu. |
| FIX | A fixed number of decimal places is in effect. |
| SCI | A fixed number of significant digits is in effect. |
| i/∠ | Current setting of Complex Result (i : a+bi or ∠: r∠θ) on the SETTINGS menu. |
 / /  |
There is previous () or following () calculation history for the currently displayed calculation result. |
Using Menus
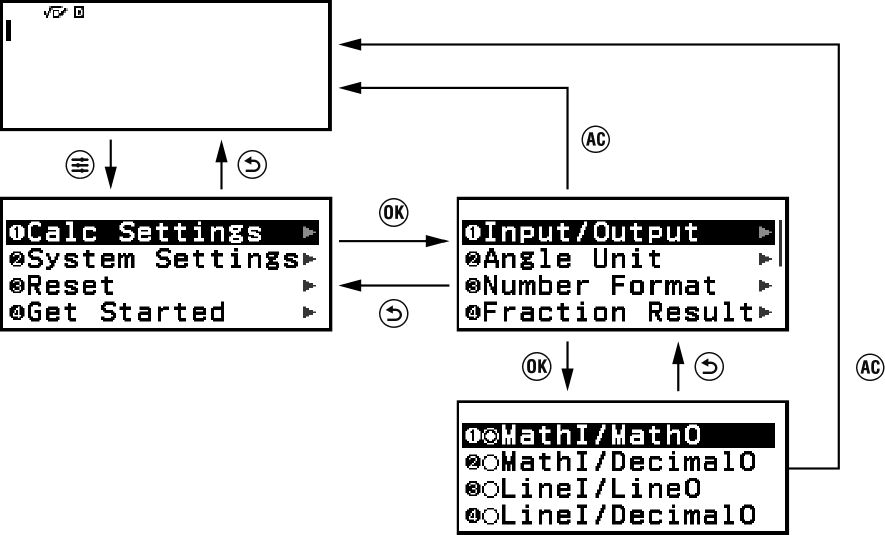
Many of the operations of your calculator are performed using menu screens. The example below shows operations starting from the menu screen that appears when you press .
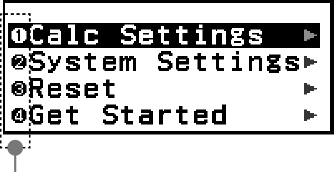
Selecting a Menu Item
There are two ways to select an item on a menu.
Method 1: Use the cursor keys to move the highlighting to the item you want to use and then press .
Method 2: Press the key that corresponds to the number or symbol to the left of the item you want to select.
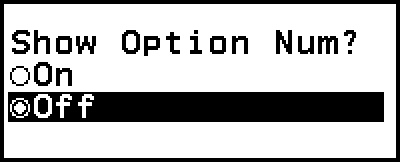
The number or symbol to the left of an item is its "Option Number".
- Option Numbers
You can use Option Numbers to select a menu by pressing its corresponding number or symbol key even if its menu is not currently displayed.
Option Numbers are displayed when "On" is selected for the Show Option Num setting on the SETTINGS menu and not displayed when "Off" is selected. The default setting is On. Note that menu operations you execute by pressing number and symbol keys remain in effect even when "Off" is selected for the Show Option Num setting.
Example of Menu Operations Using Option Numbers
1. Press , select the Calculate app icon, and then press .
This displays the Calculate app’s initial screen.

2. Press , and then press  to select [System Settings].
This displays the menu items included under [System Settings].
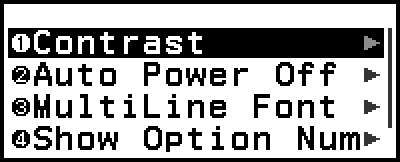
3. Press  to select [Show Option Num].

4. Press (Off).
This turns off the Show Option Num setting, which causes the Option Numbers to the left of the menu items to disappear.
5. Press to close the menu.
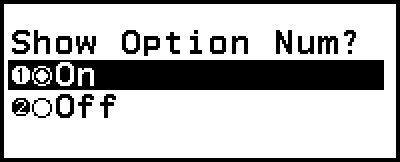
6. Perform the following key operation: press , (System Settings), (Show Option Num),  (On).
(On).
This turns on the Show Option Num setting, which causes the Option Numbers to reappear.
7. Press to close the menu.
Navigating Between Menu Hierarchies
The " " indicator to the right of a menu item means that there are lower hierarchy levels under that item. Selecting the menu item and pressing or navigates the next lower level of the hierarchy. To return to the next upper level of the hierarchy, press
  .
.
Note
If you are in a lower level of the hierarchy of a one-column menu, you can press in addition to to return to the next higher level.
Selecting a Menu Item with a Radio Button ( /
/ )
)
When the display shows a list of multiple options, each option will have a radio button ( or ) to its left. indicates the currently selected option.
To configure the setting of a radio button menu item
1. Highlight the applicable menu item and then press .
What happens next depends on the type of menu item you selected.
- If there are no more settings to configure for the menu item you selected, the radio button next to it will change to .
- The menu item you selected has more settings to configure, a screen for selecting the menu item setting will appear. In this case, proceed to step 2.
2. On the setting screen, highlight the setting you want and then press .
This returns to the menu item screen in step 1, with the radio button next to the menu item you previously selected changed to .
Scrolling Between Screens
A scroll bar will appear along the right side of the display when there are so many menu items that they do not fit on one screen.
Use  and
and  to scroll between screens.
Use  and
and  to scroll line-by-line.
To close the menu and return to the screen displayed before the menu
Press .
Note
You can close a menu displayed by pressing ,  ,
,  ,
,  , or
, or  (
( ) by pressing . If the displayed menu is one that appears immediately after launching a particular calculator app or if it is an app-specific menu, you cannot close it by pressing . In that case, you must press to close the menu.