Support
G-SQUAD PRO
GSW-H1000
Support
G-SQUAD PRO
GSW-H1000
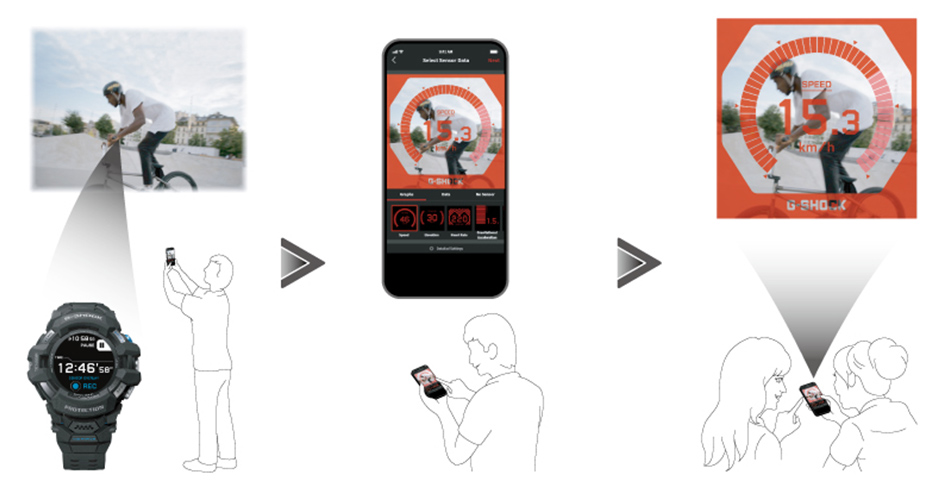
Sensor Overlay helps you create original, you-were-there videos and images, and share them on social media.
With Sensor Overlay, the G-SHOCK MOVE selects the most dramatic and exciting moments from images you shoot during an activity and incorporates the speed, heart rate, acceleration, and other activity sensor data to create realistic original visual presentations that faithfully share your experiences with viewers.

The CASIO G-SHOCK MOVE app is required to create original videos with Sensor Overlay.
To use the app, you need to register it with your CASIO ID.
Install G-SHOCK MOVE onto your phone from Google Play or the App Store.
Please download the app from [Apps Download].
To create original videos and images using Sensor Overlay, you need a camera for shooting images, a phone with G-SHOCK MOVE installed, and this watch.
STEP1While you are wearing the watch with a watch face displayed, press the lower (APP) button.
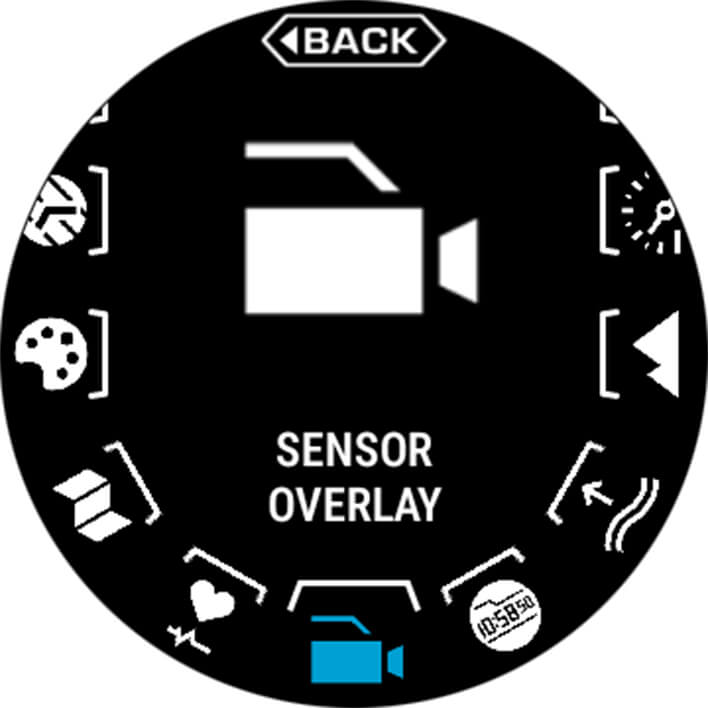
STEP2Swipe the screen’s outer ring to scroll the icons until the Sensor Overlay icon is in the center of the screen.

STEP3Tap the icon in the center of the screen.
STEP4Prepare your camera for movie recording.
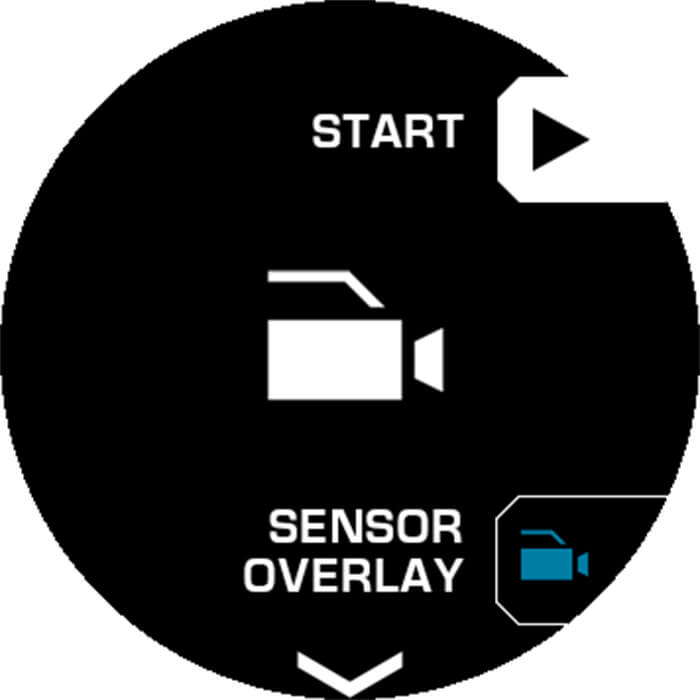
STEP5Press the upper (START) button.

STEP6Start shooting video with the camera.
STEP7The activity will start when the countdown reaches zero.
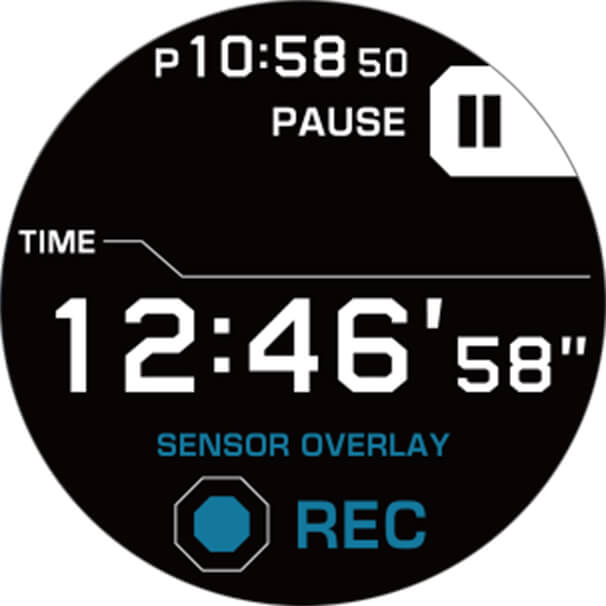
STEP1While the Sensor Overlay measurement in progress screen is displayed, press the upper (PAUSE) button.

STEP2To stop measurement, display the measurement paused screen and hold down the lower (STOP) button for at least two seconds.
Stop the movie recording operation.

STEP3When the message “Save history?” appears, tap “Save (upper button)” or the upper button.
Next, let's use the saved sensor data and recorded video to create an original activity video.

STEP1On the G-SHOCK MOVE home screen of your phone, tap the sync icon.
STEP2In G-SHOCK MOVE, tap Activity> History.
STEP3Tap the sensor overlay data.
STEP4Scroll the screen and tap the instructions for creating an original video or image.
STEP5Tap the start creating icon.
STEP6Select a video or photos.
STEP7Frames are displayed at five-second intervals. Select the ones you want to use as your main scenes.
STEP8Among the scenes you selected in step 7, select the frames you want to highlight most.
STEP9Select the stamps you want to insert into the frames.
STEP10Check the preview, and then tap “Next”.
STEP11Select “Share on SNS” or “Save to Smartphone”.
STEP7Select the stamps you want to insert into the main images.
STEP8Check the preview, and then select “Next”.
STEP9Select “Share on SNS” or “Save to Smartphone”.
On the bottom of the screen that appears when you select stamps in step 8, tap “Detailed Settings”.
Use the screen that appears to select color or monochrome and to match sensor values obtained by the watch with movie scene timing.
On the bottom of the screen that appears when you select stamps in step 7, tap “Detailed Settings”.
Use the screen that appears to select color or monochrome for photos. You can also use it to match the timing of photos stored on the phone and sensor data obtained by the watch.