Time Adjustment
Operation procedure for time adjustment
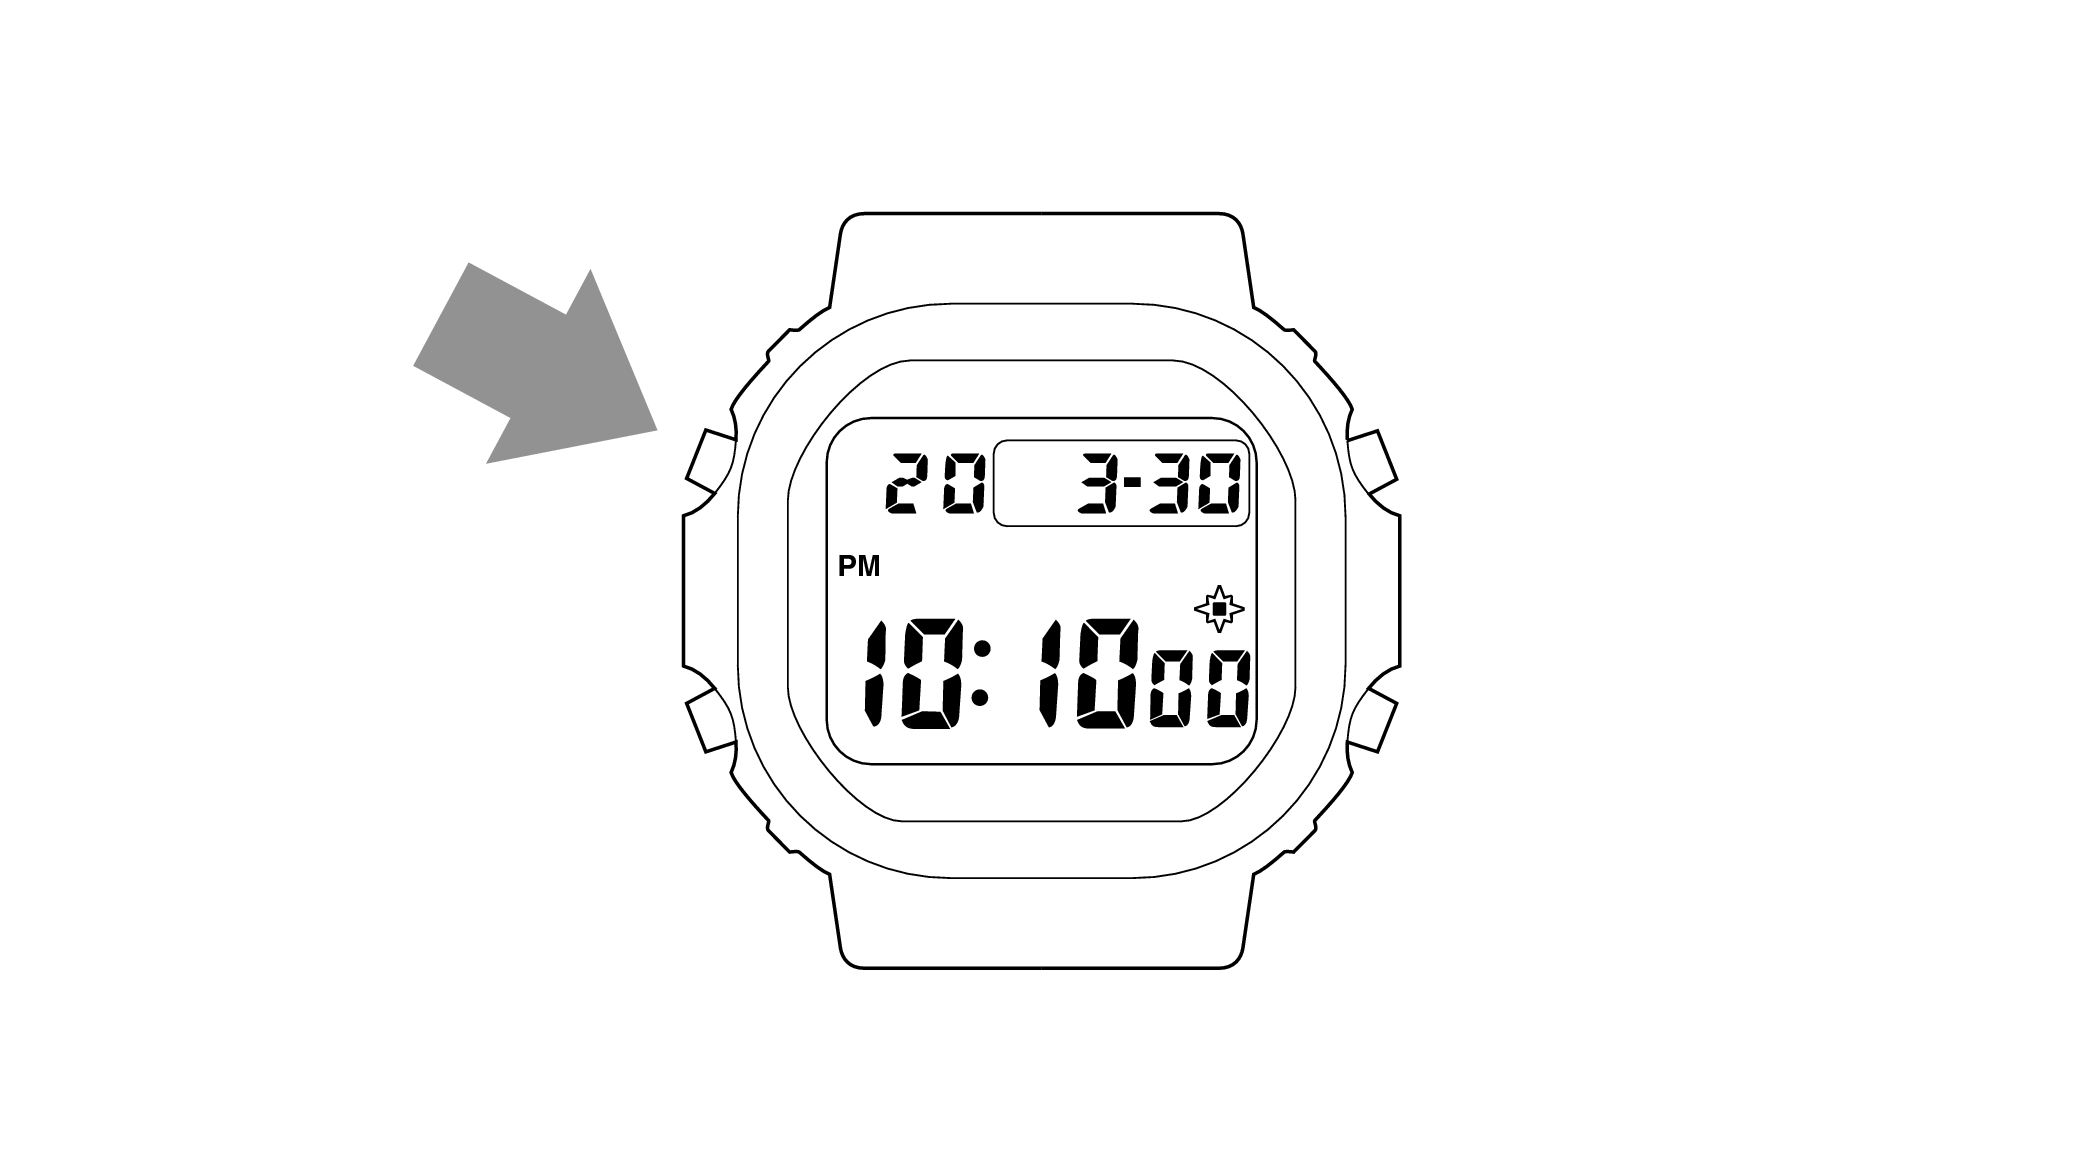
Perform the operation in Timekeeping Mode
Pressing the lower left button will switch to Timekeeping Mode.
Each press of the lower left button will play a verification sound, and switch to a different mode.
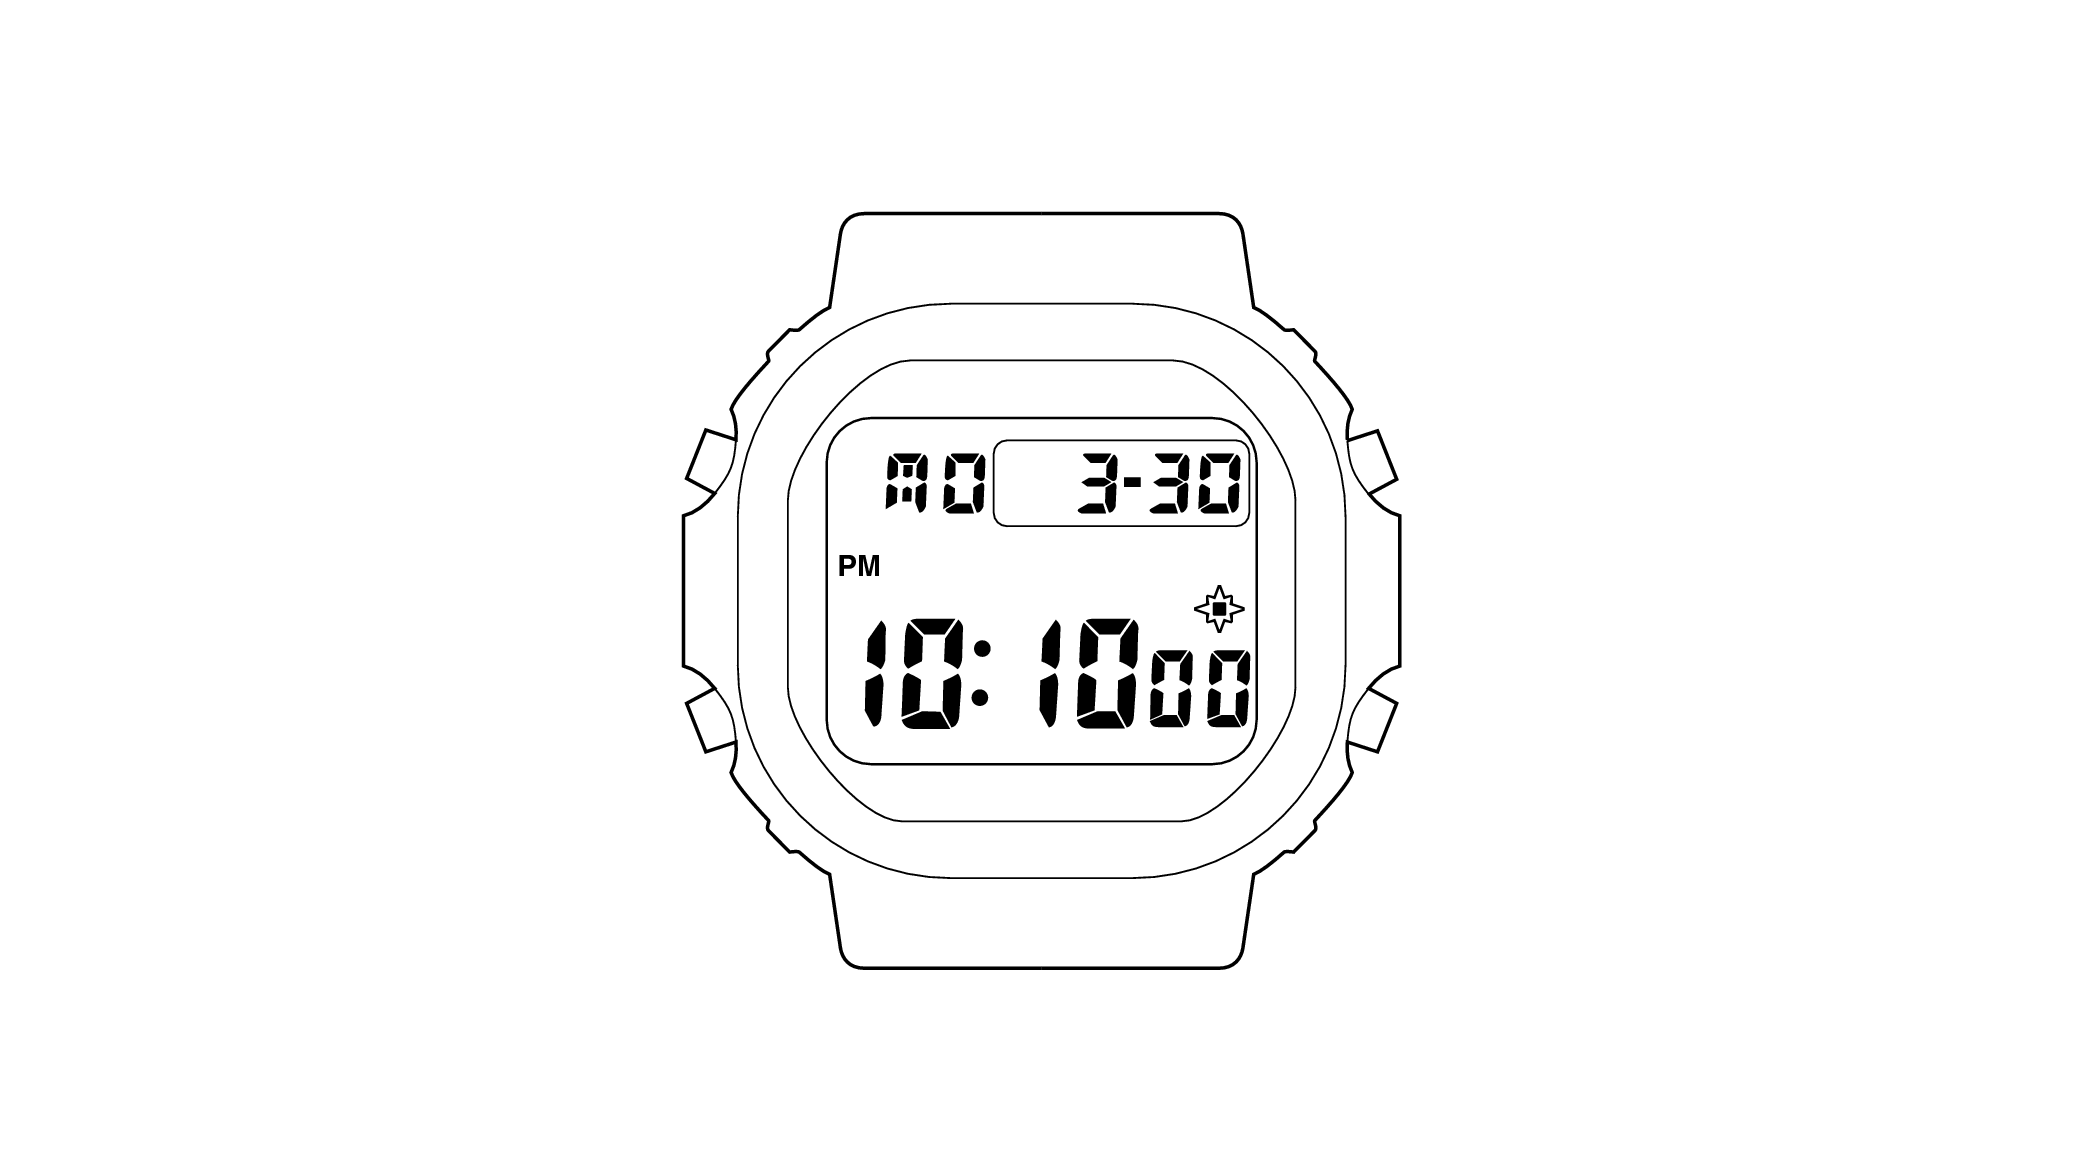
Is the digital display set to the correct time?
Time Adjustment is completed
Correct the time and date on the digital display
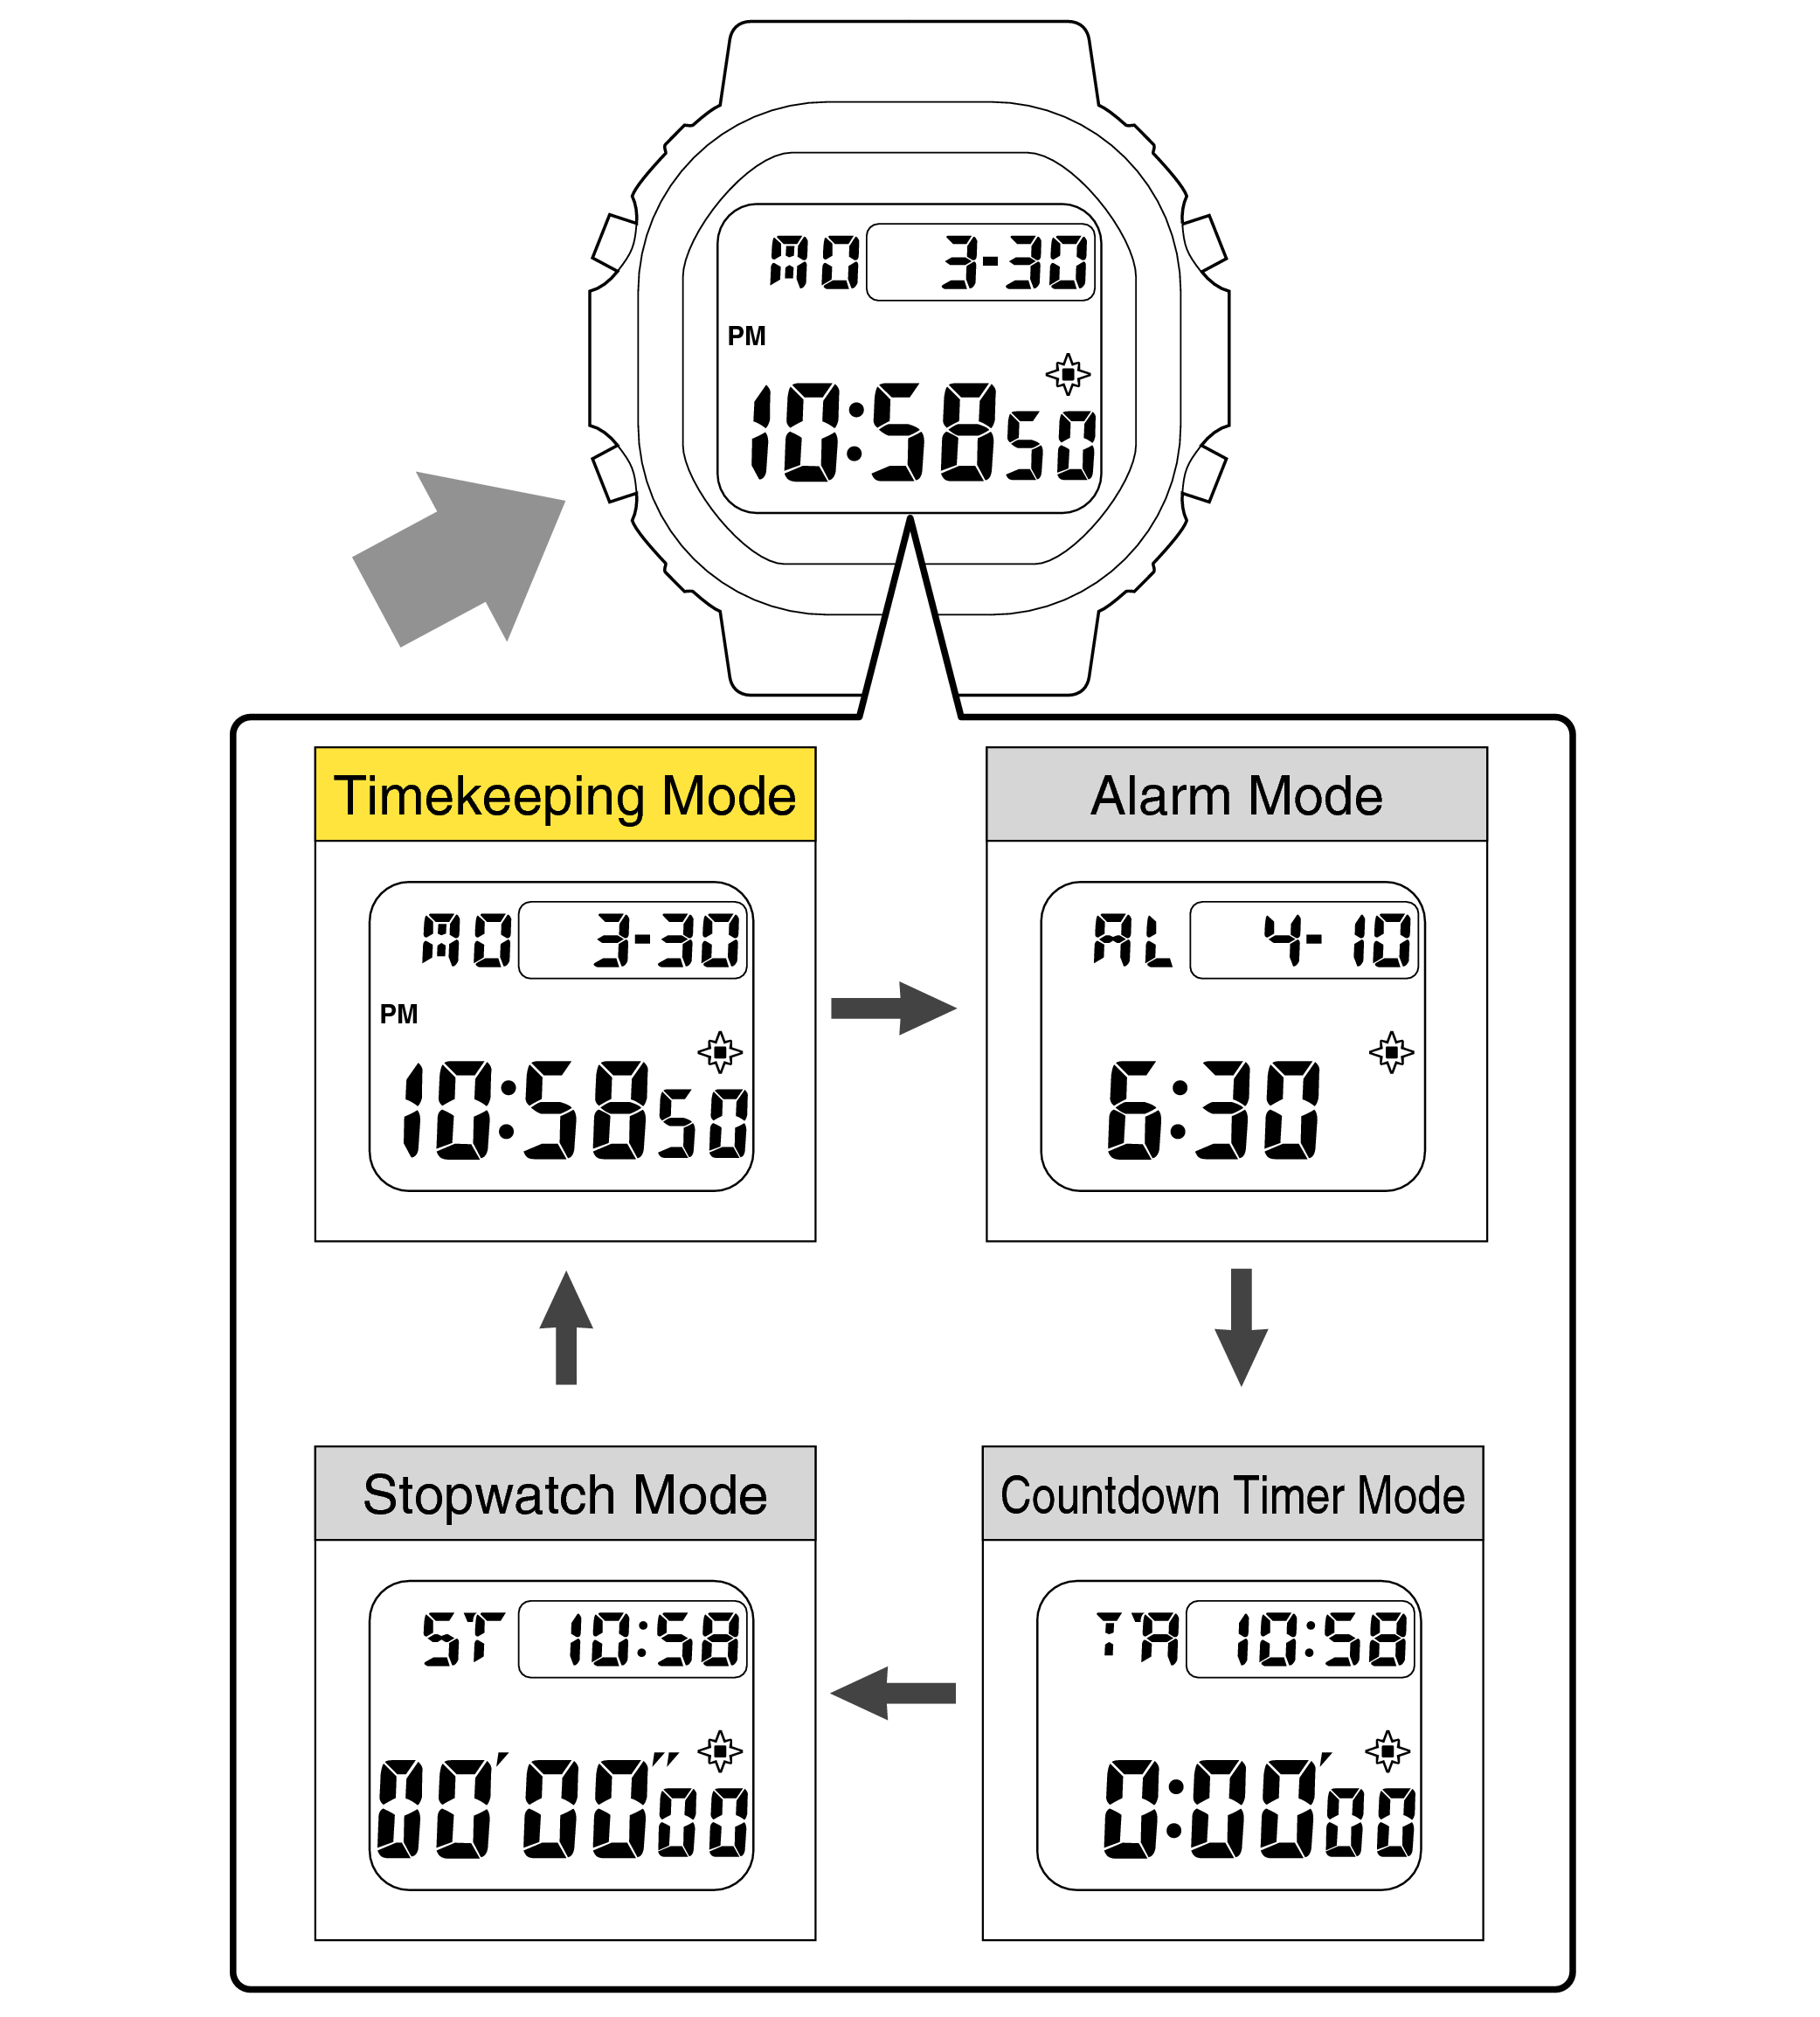
Example: If the correct time and date is Monday, March 30, 2020, 10:10:00 pm
-
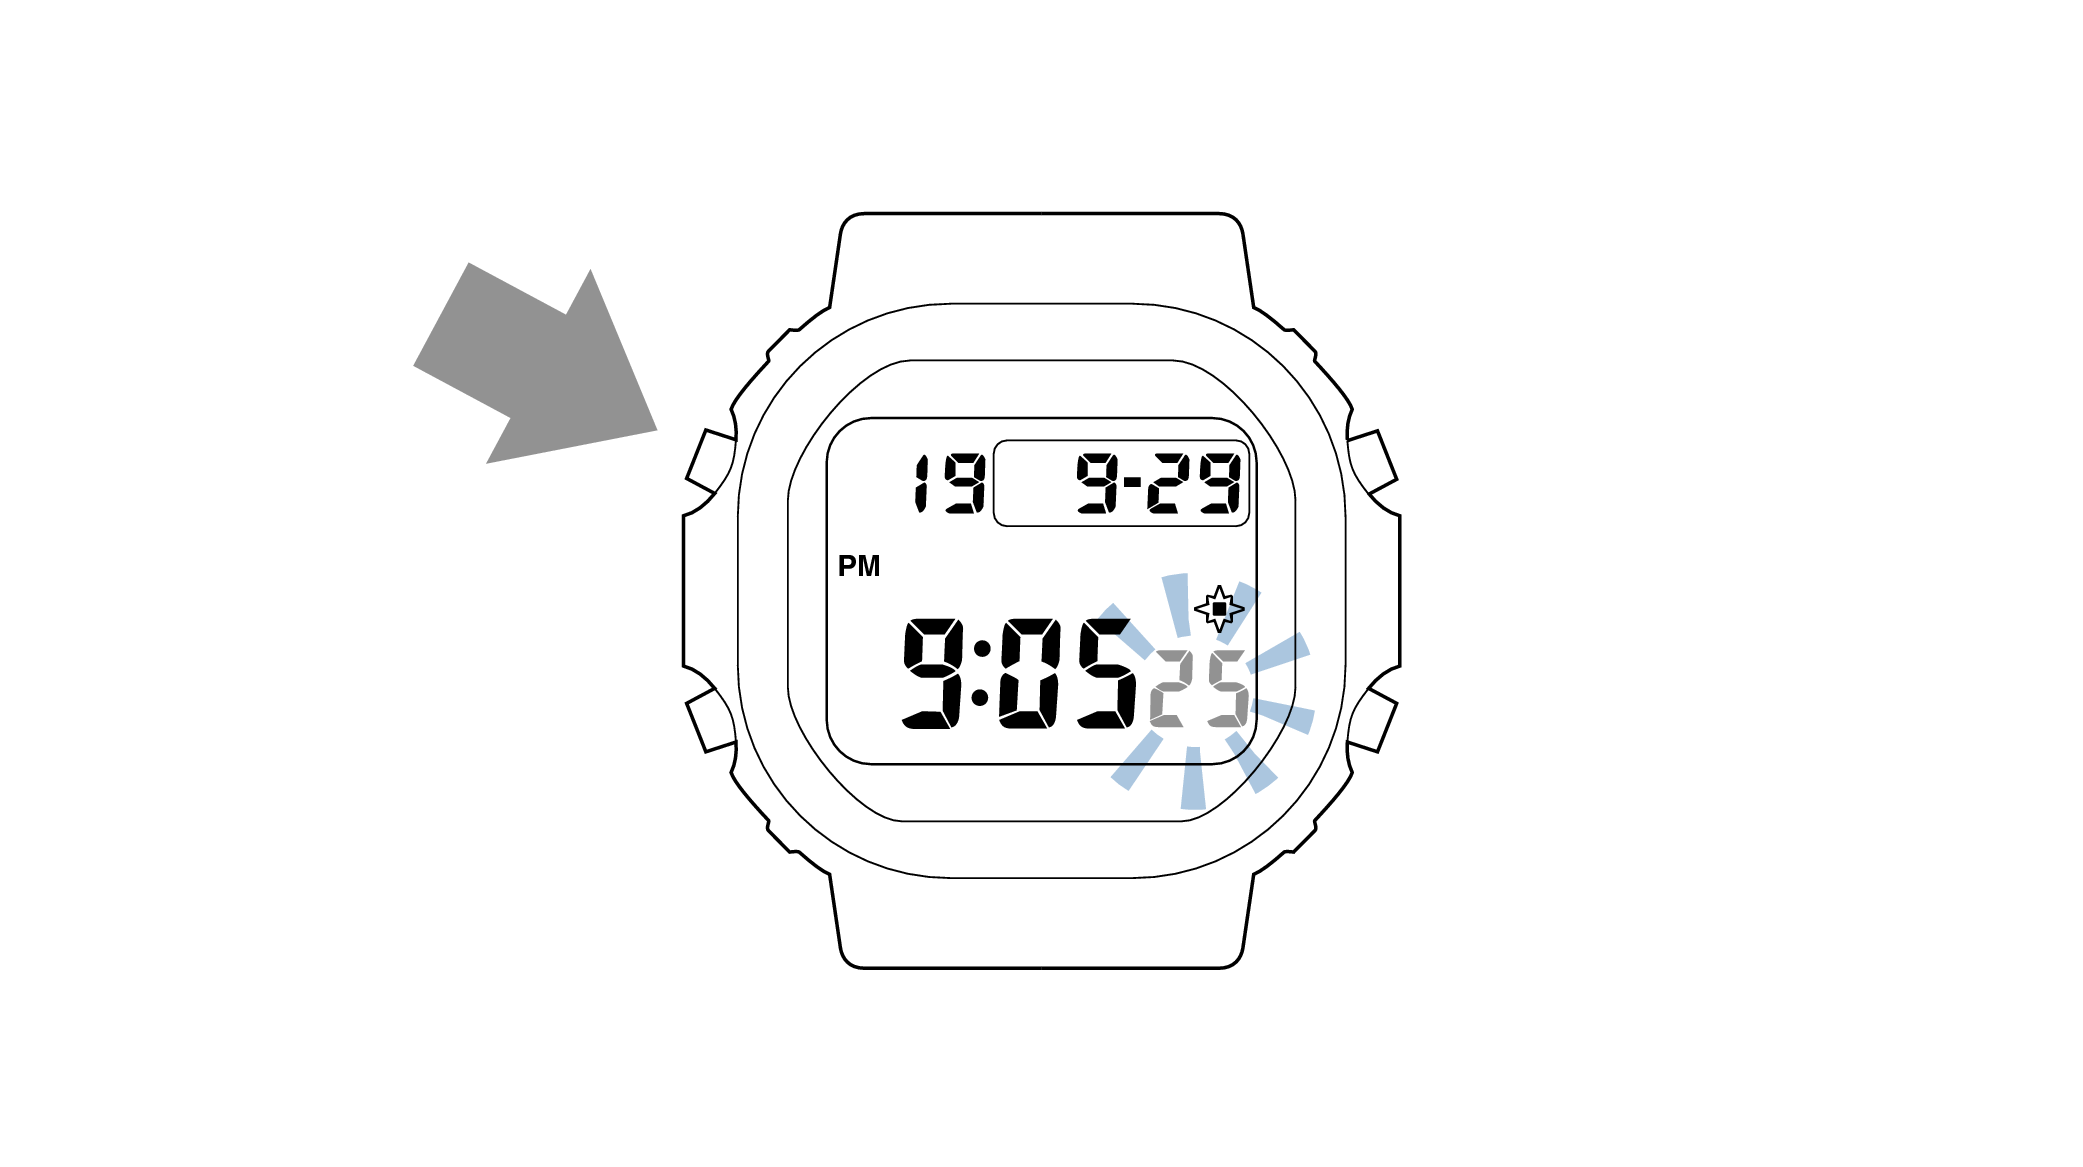
1.Pressing the upper left button will switch to the “seconds” setting.
-
-
2.Press the upper right button and set the “seconds”.
-
Set the correct seconds based on a time signal service, etc.
-
3.Pressing the lower left button will switch to the “hour” setting.
-
With the 12-hour format selected, the “PM” indicator will appear in the afternoon.
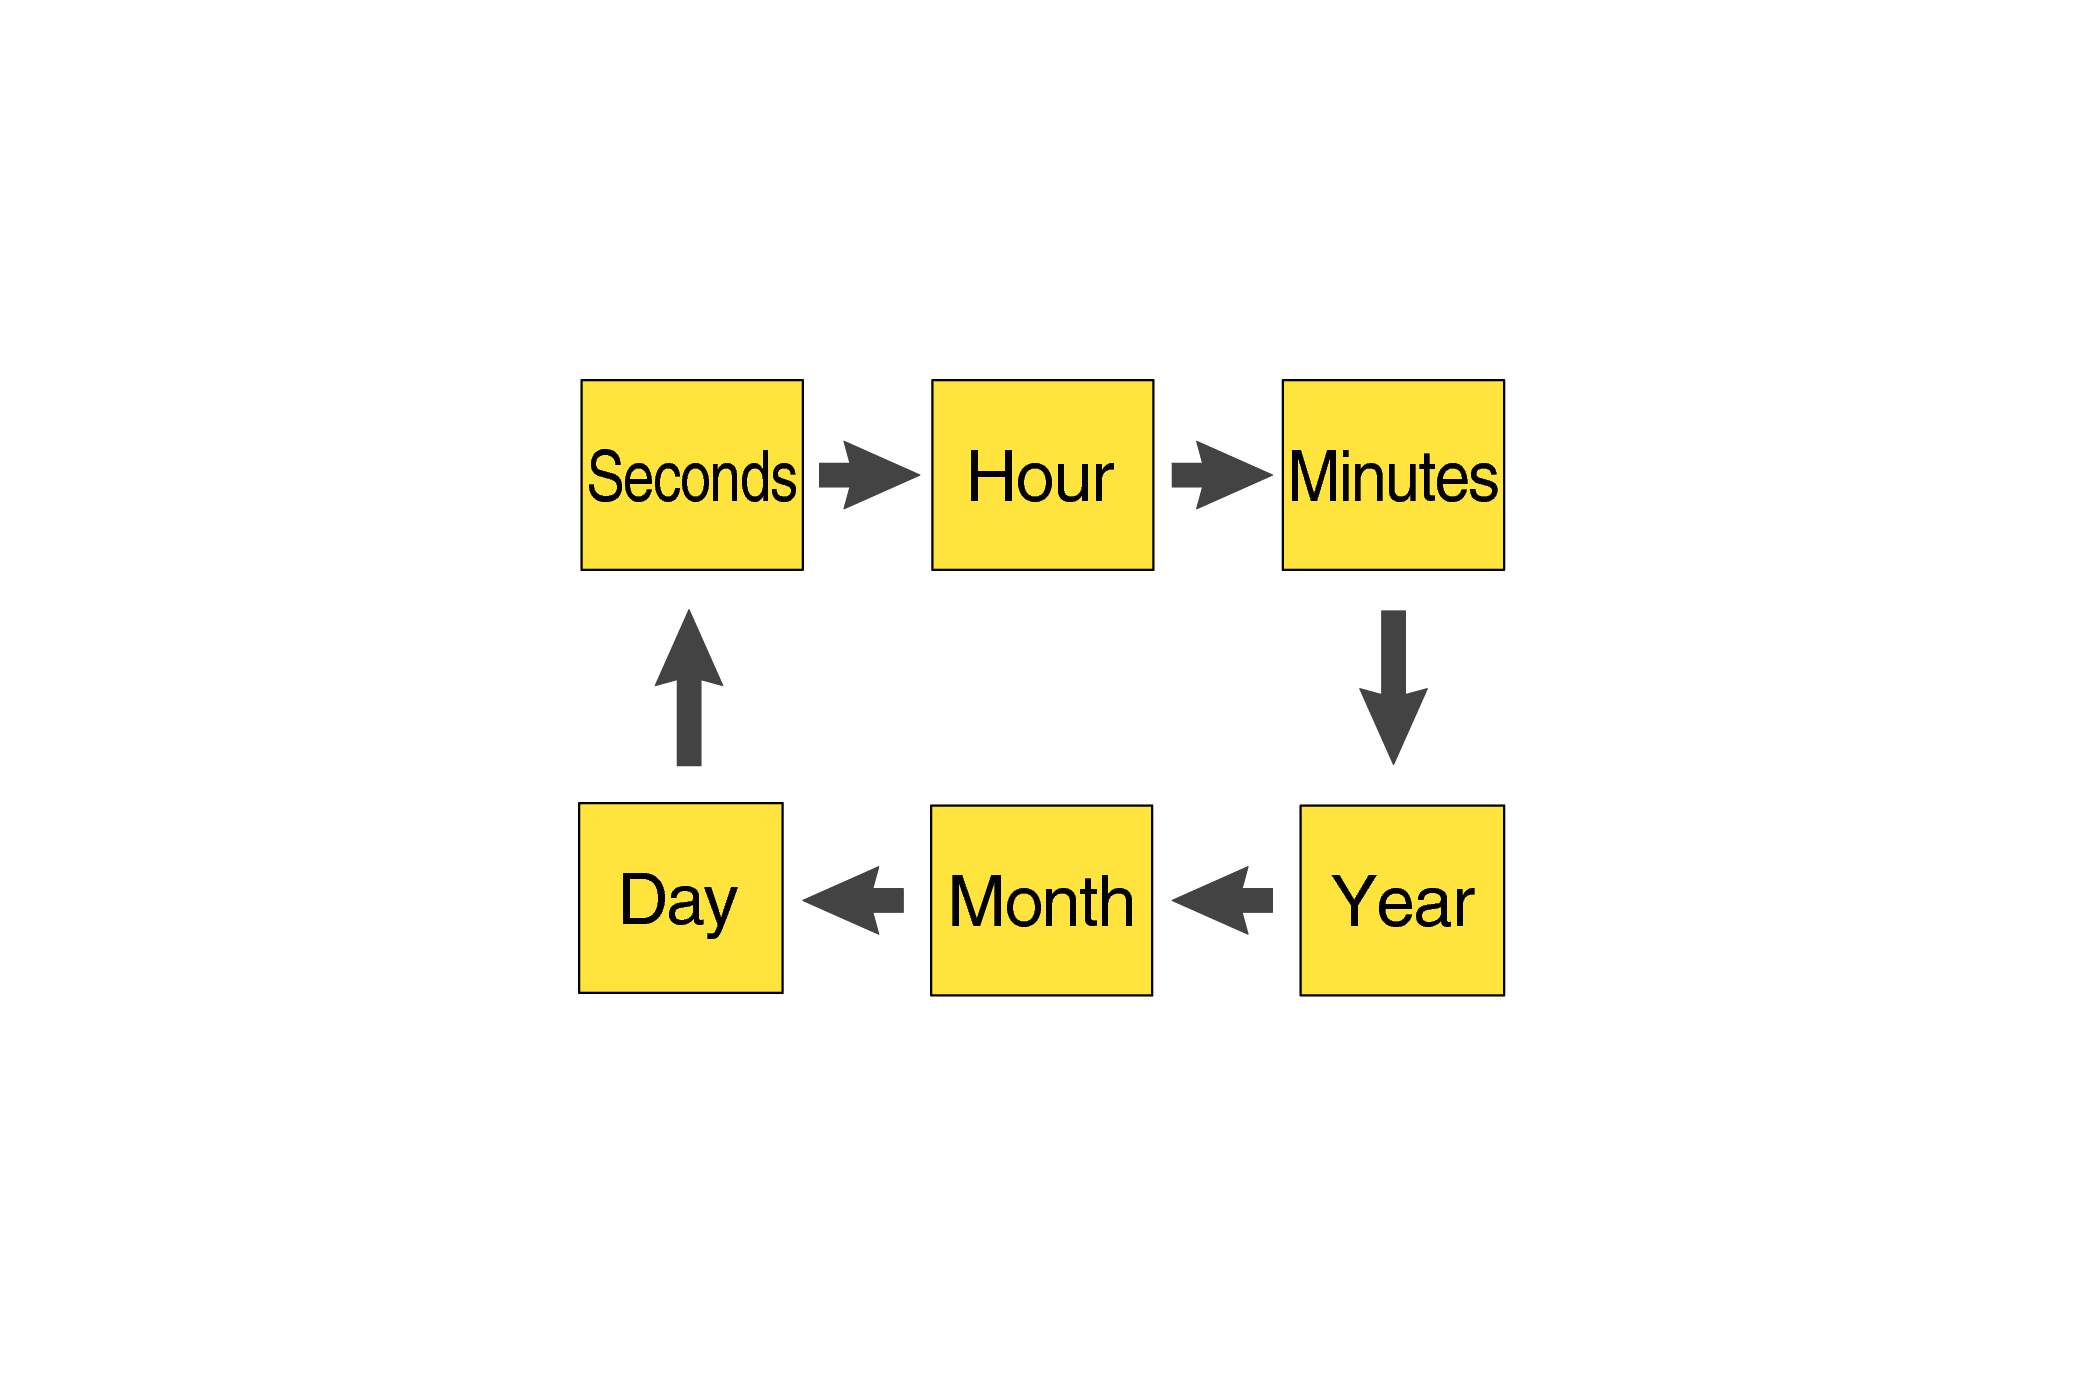
Each press of the lower left button will change the flashing part in the order of the chart above.
-
4.Press the upper right button and set the correct “hour”.
-
Each press of the button will advance it by one.
Holding down the button will quickly advance the hours, and releasing the button will make it stop.
-
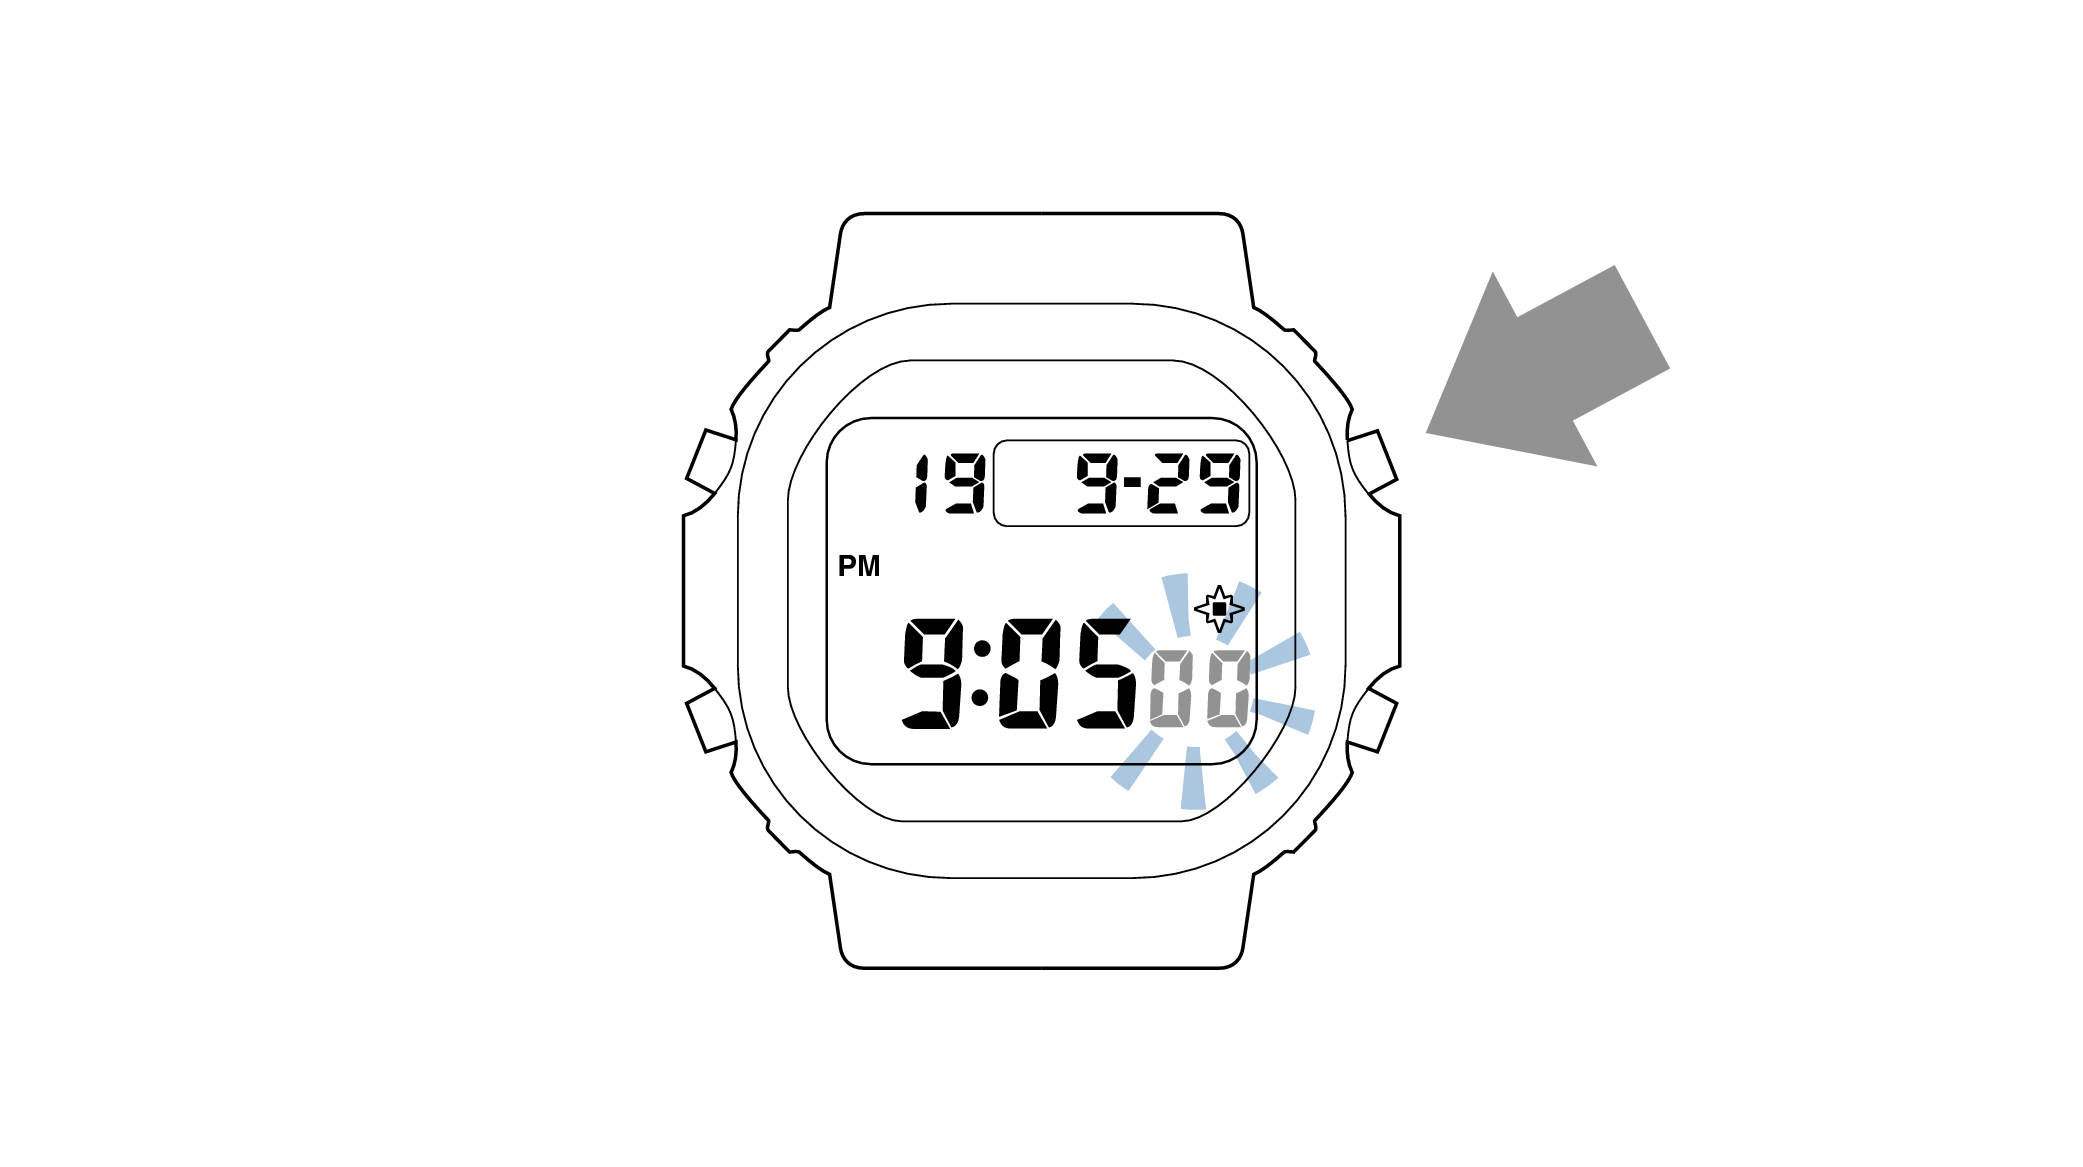
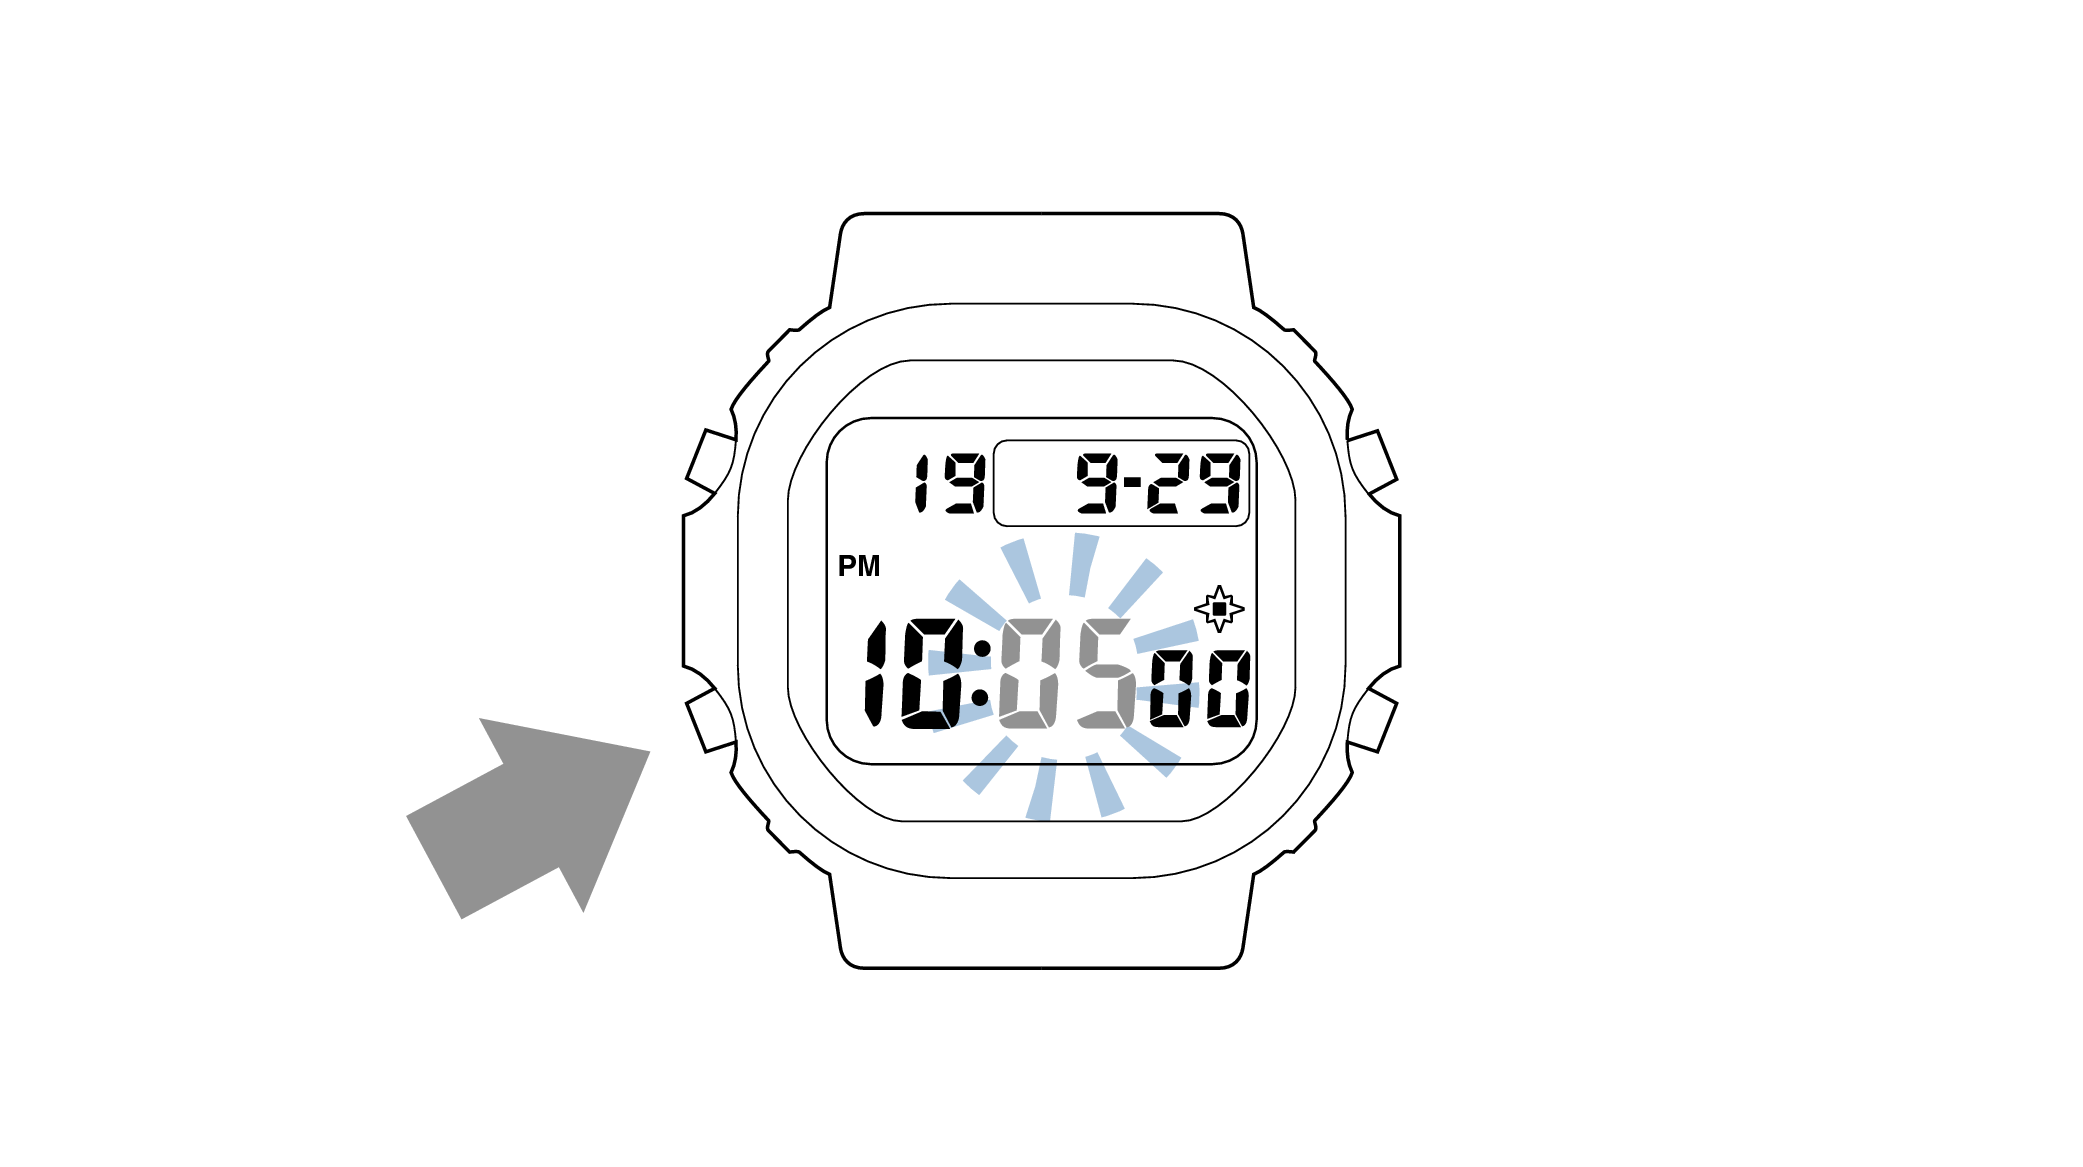
5.Pressing the lower left button will switch to the “minute” setting.
-
-
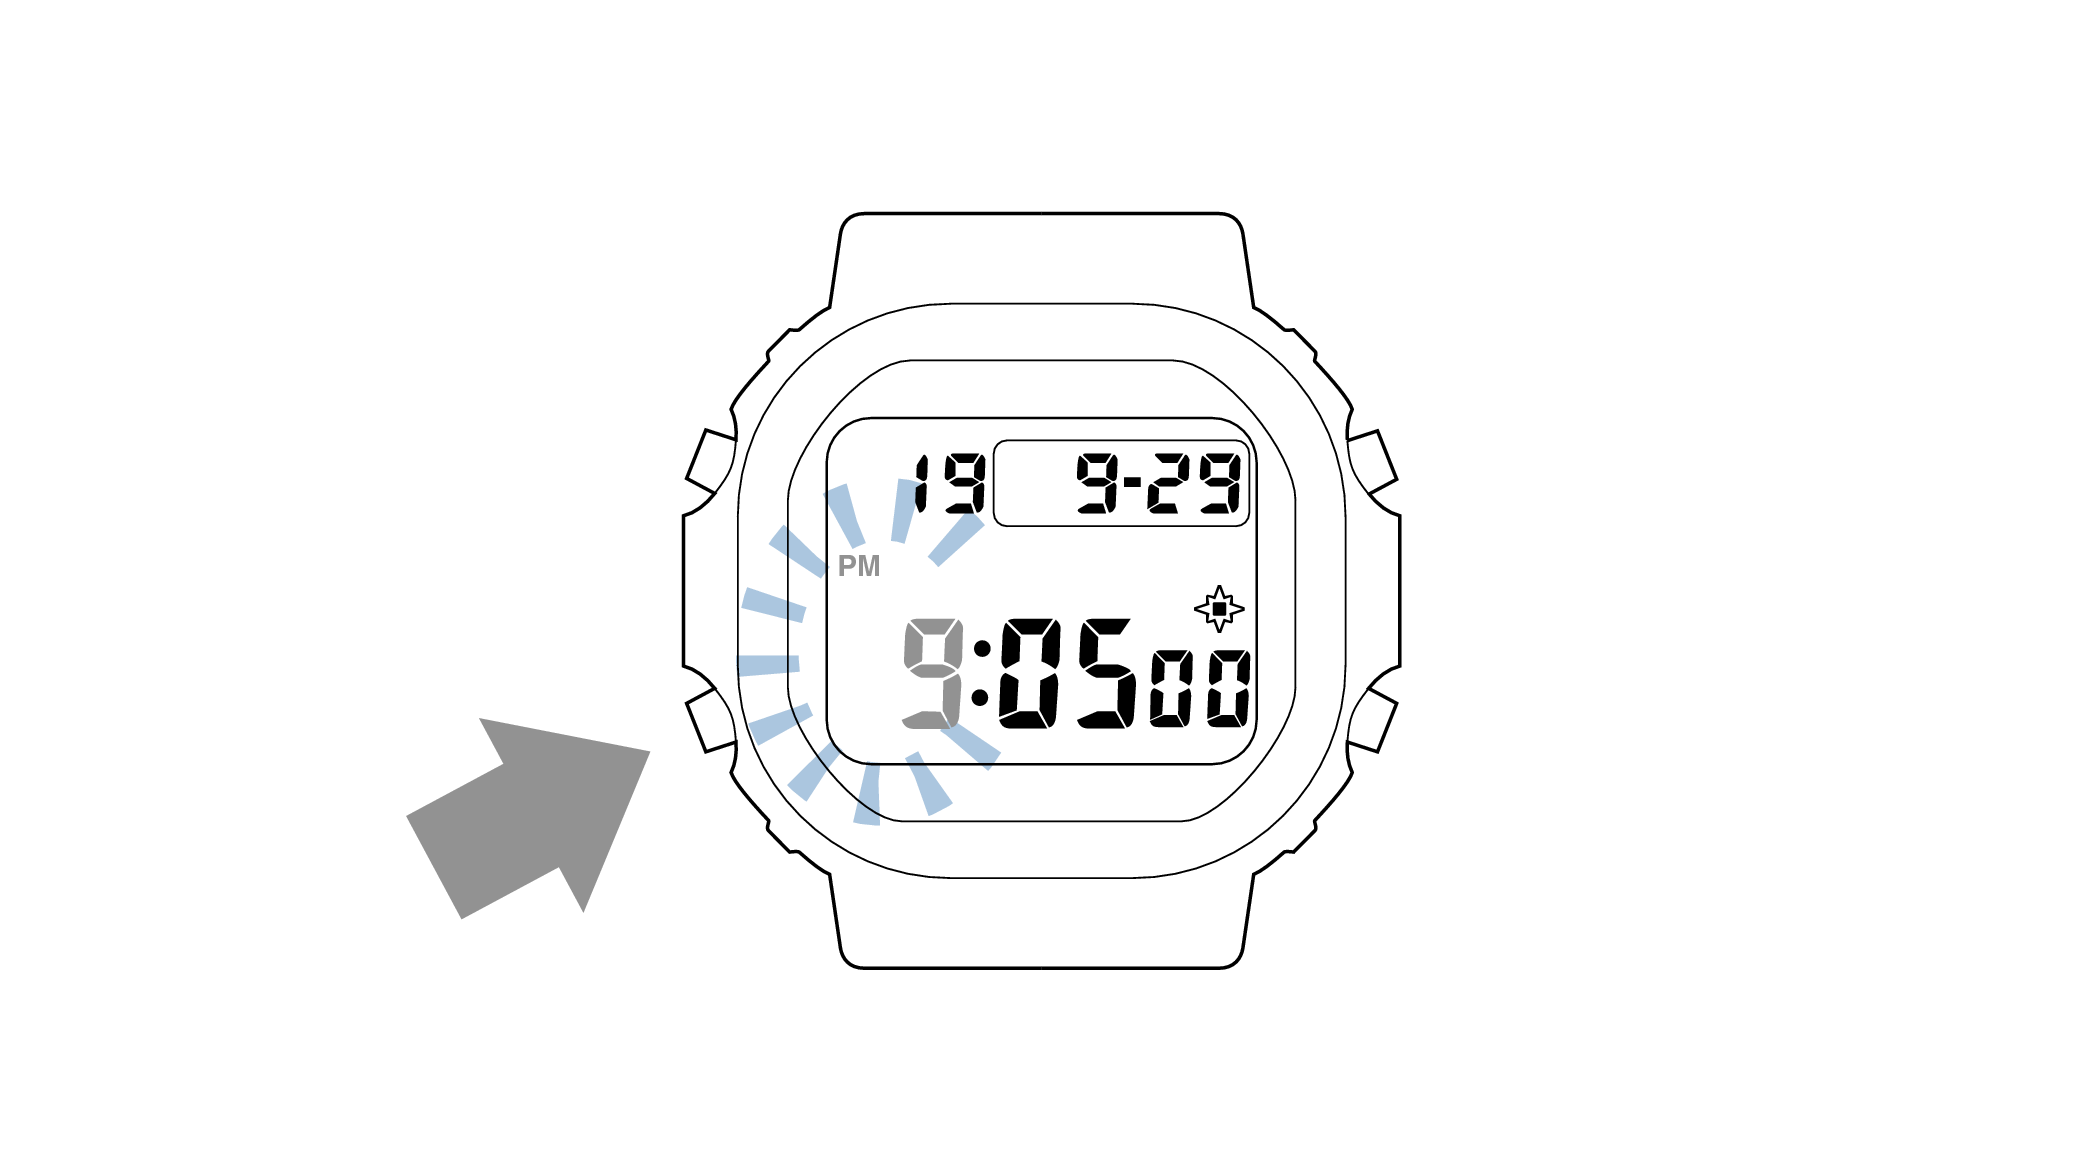
6.Press the upper right button and set the correct “minutes”.
-
-
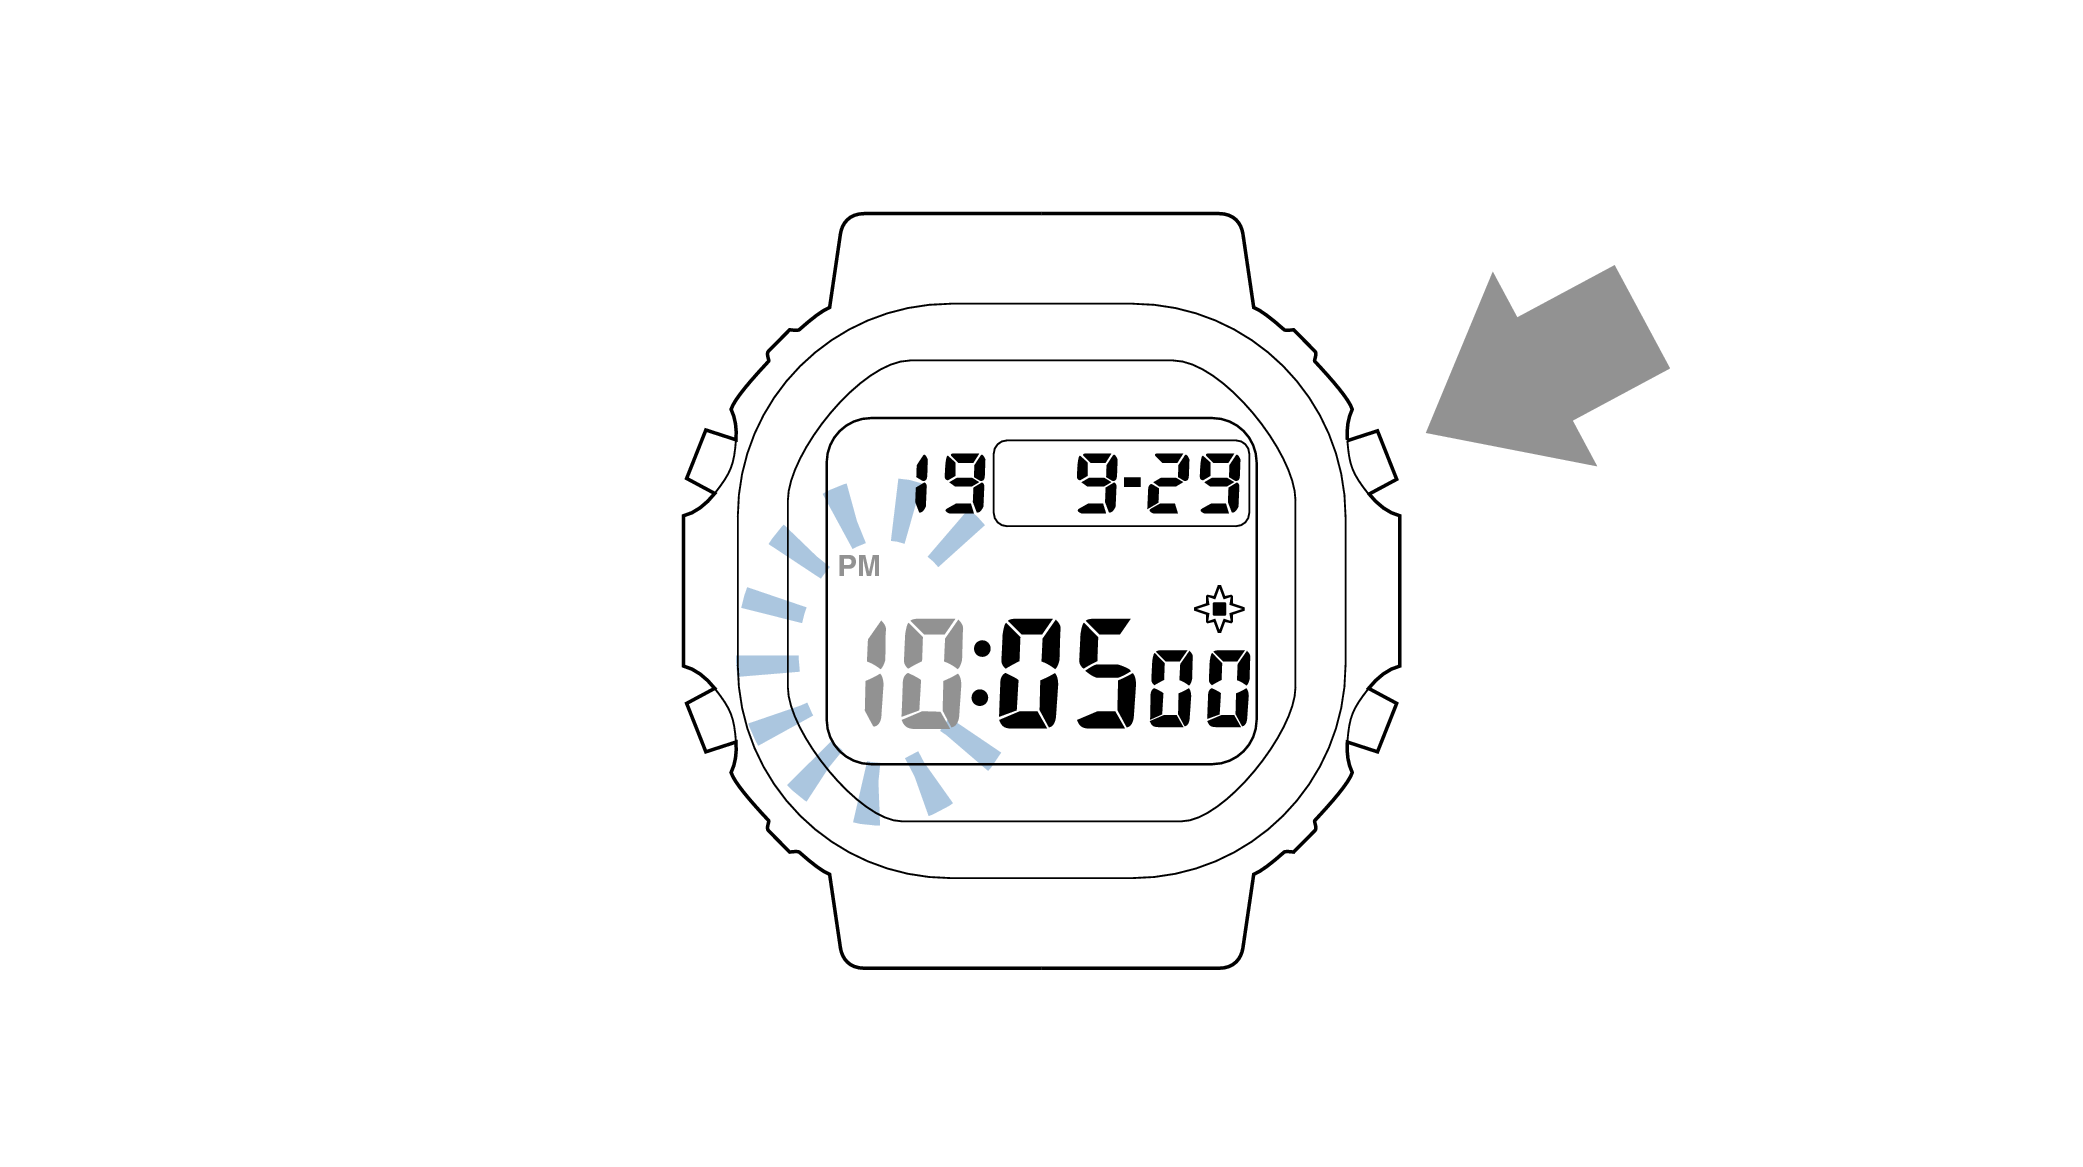
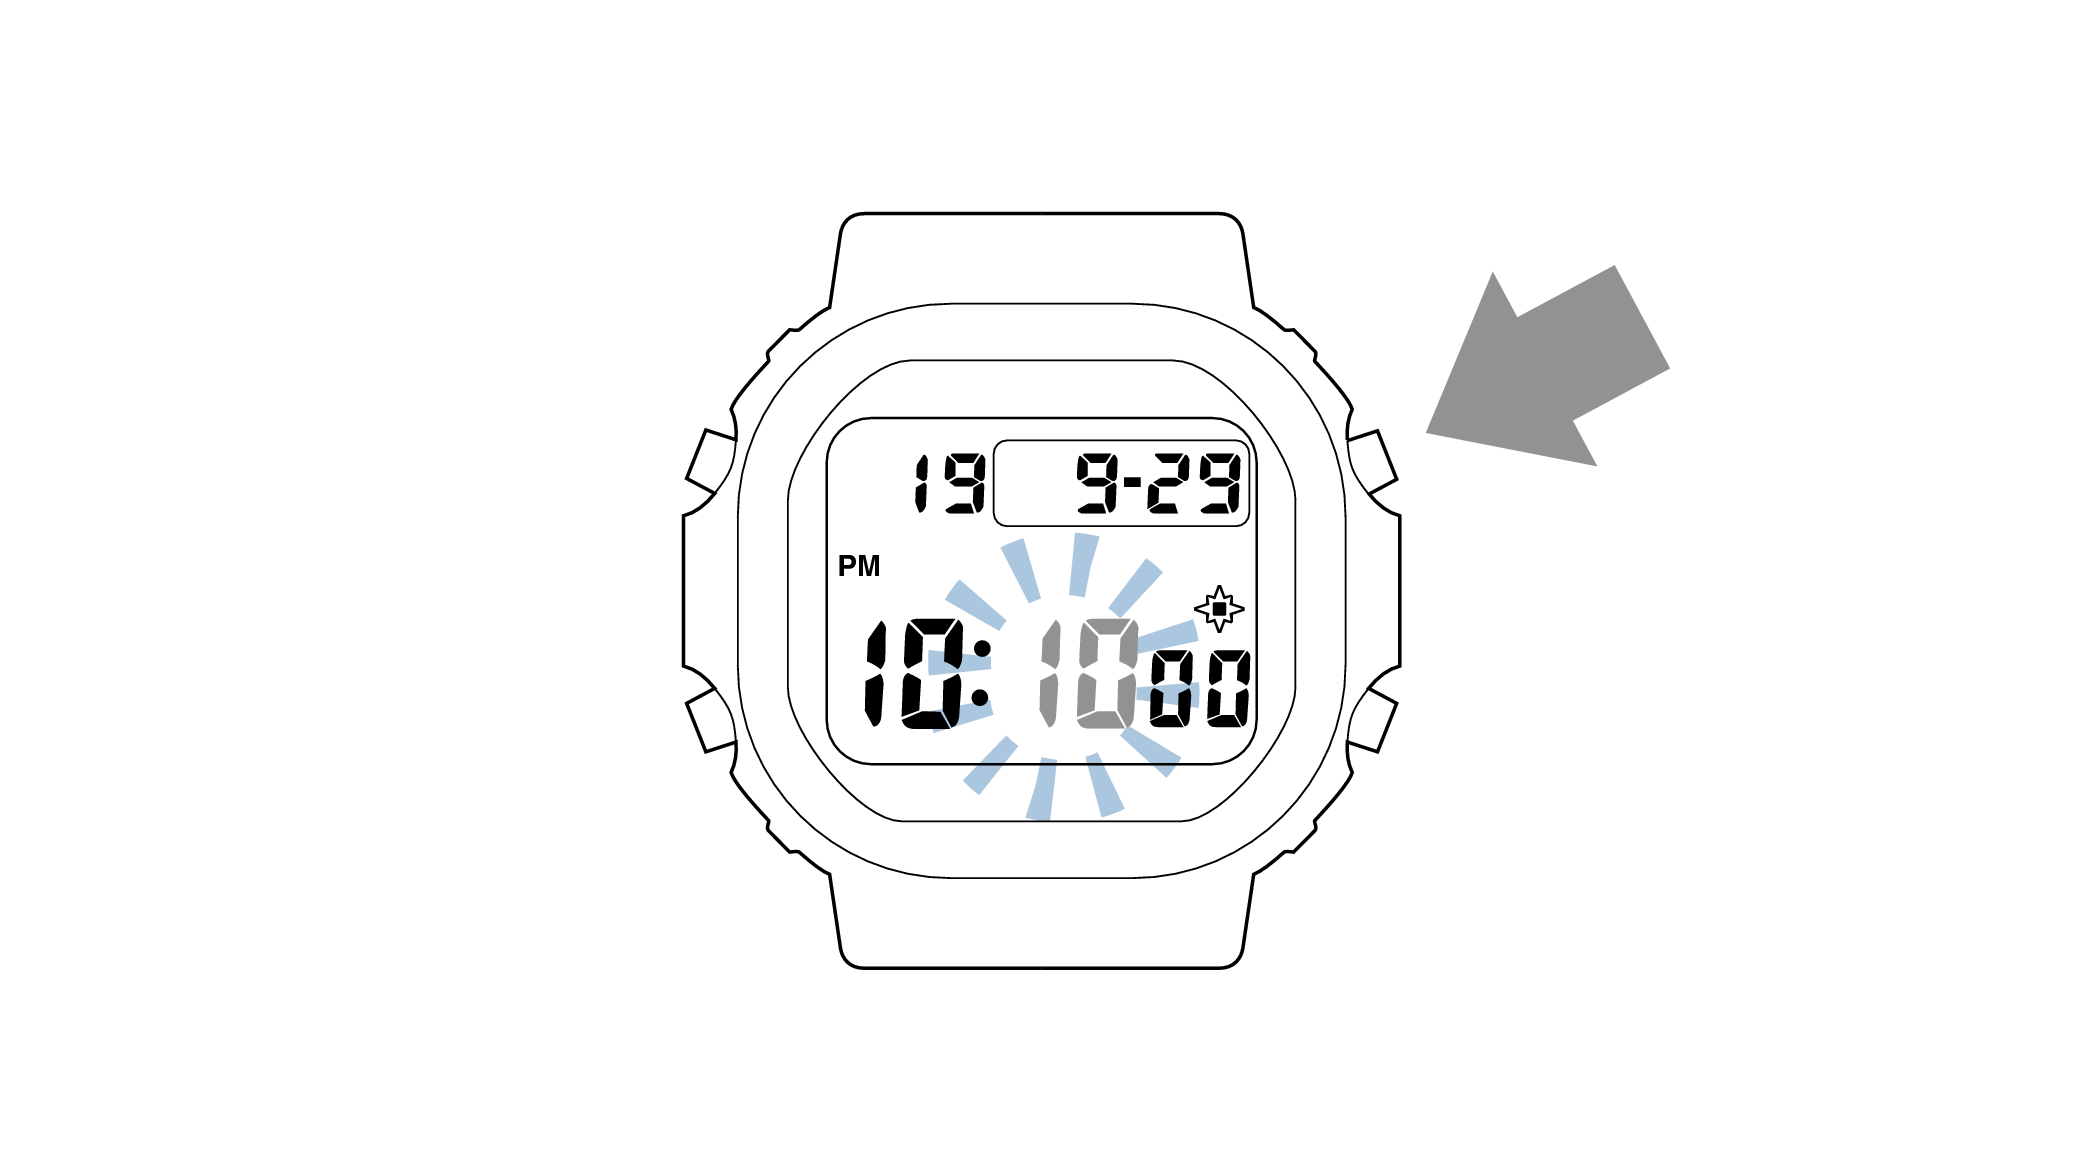
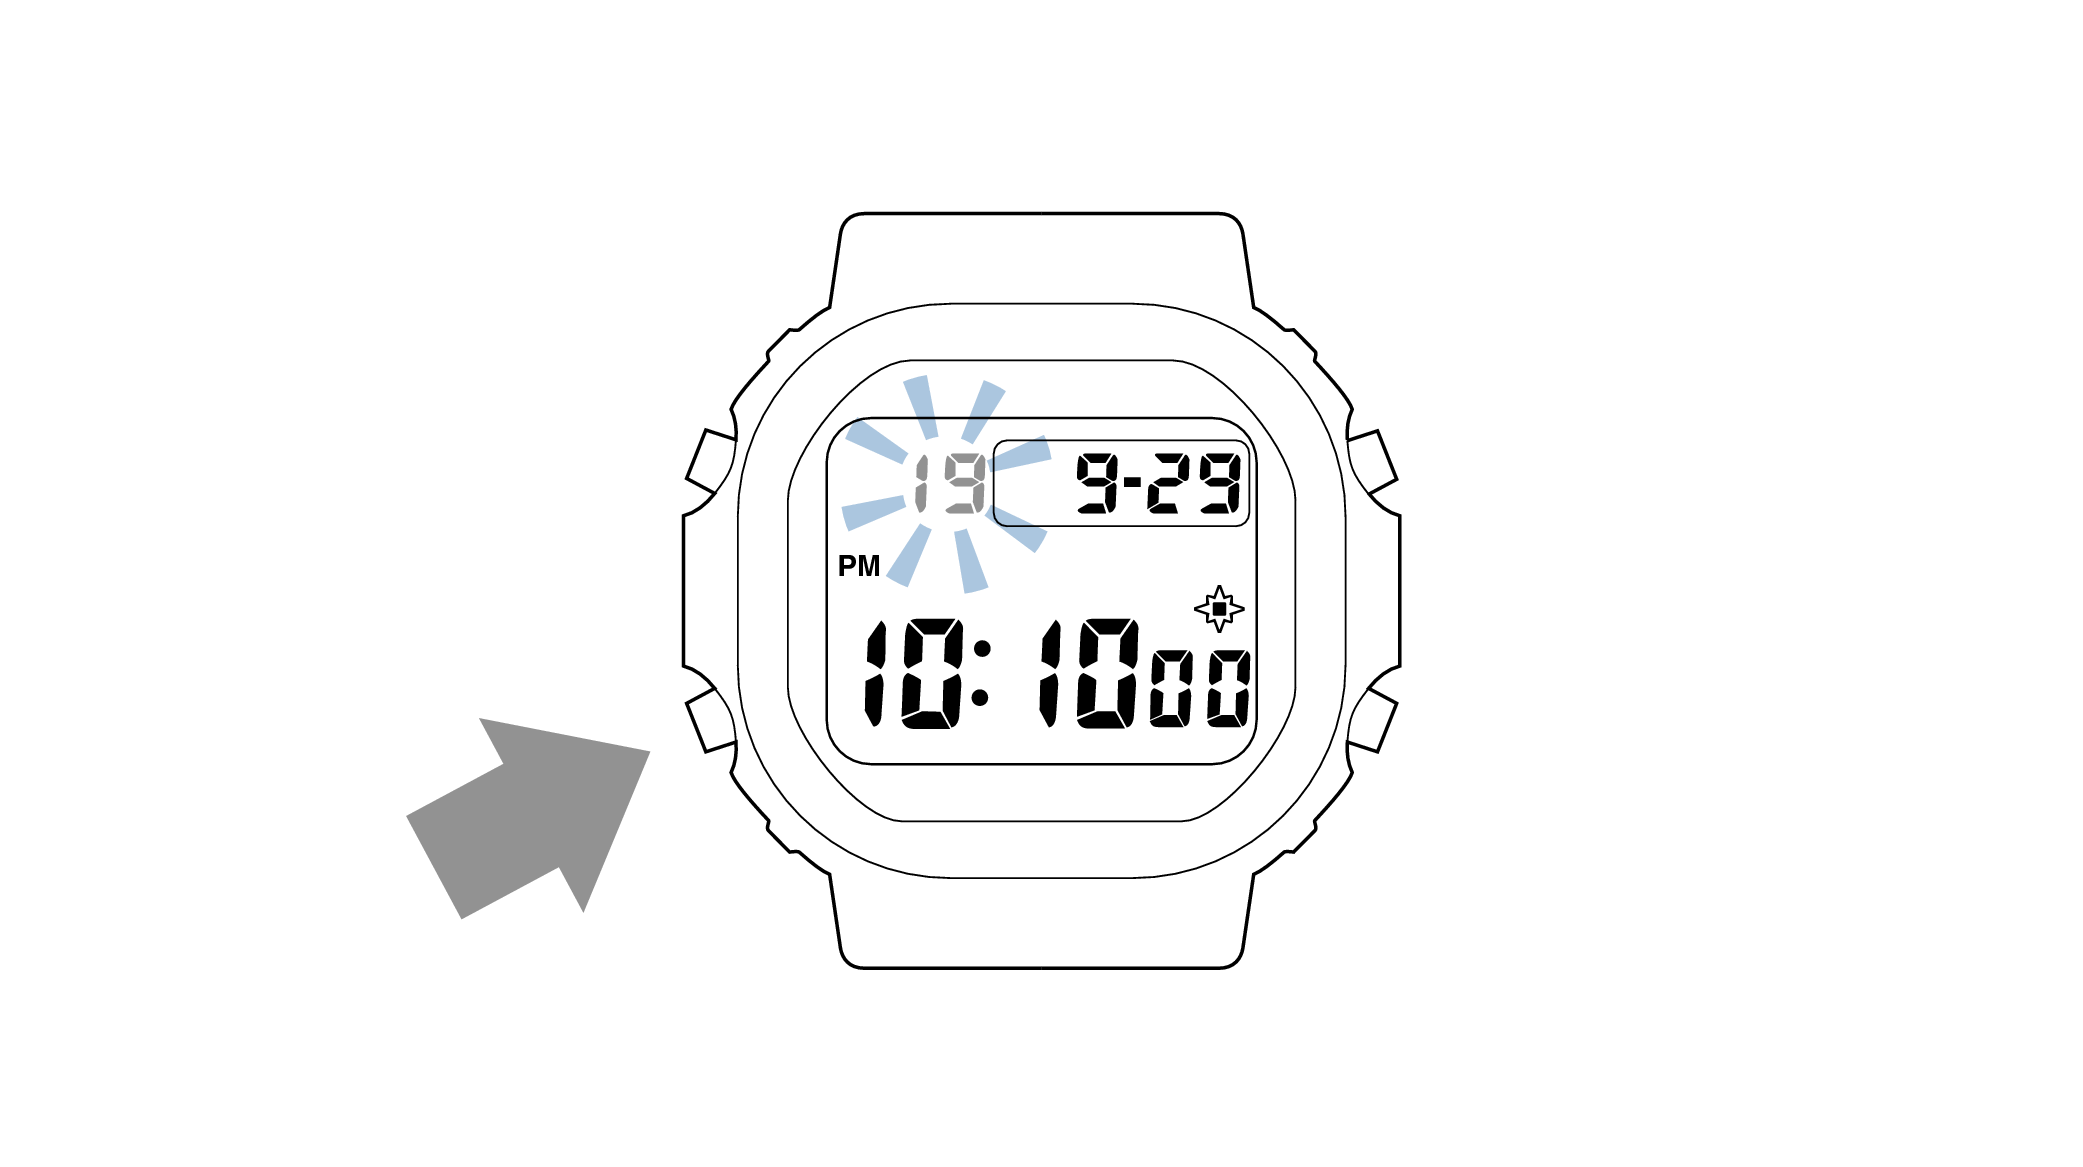
7.Pressing the lower left button will switch to the “year” setting.
-
-
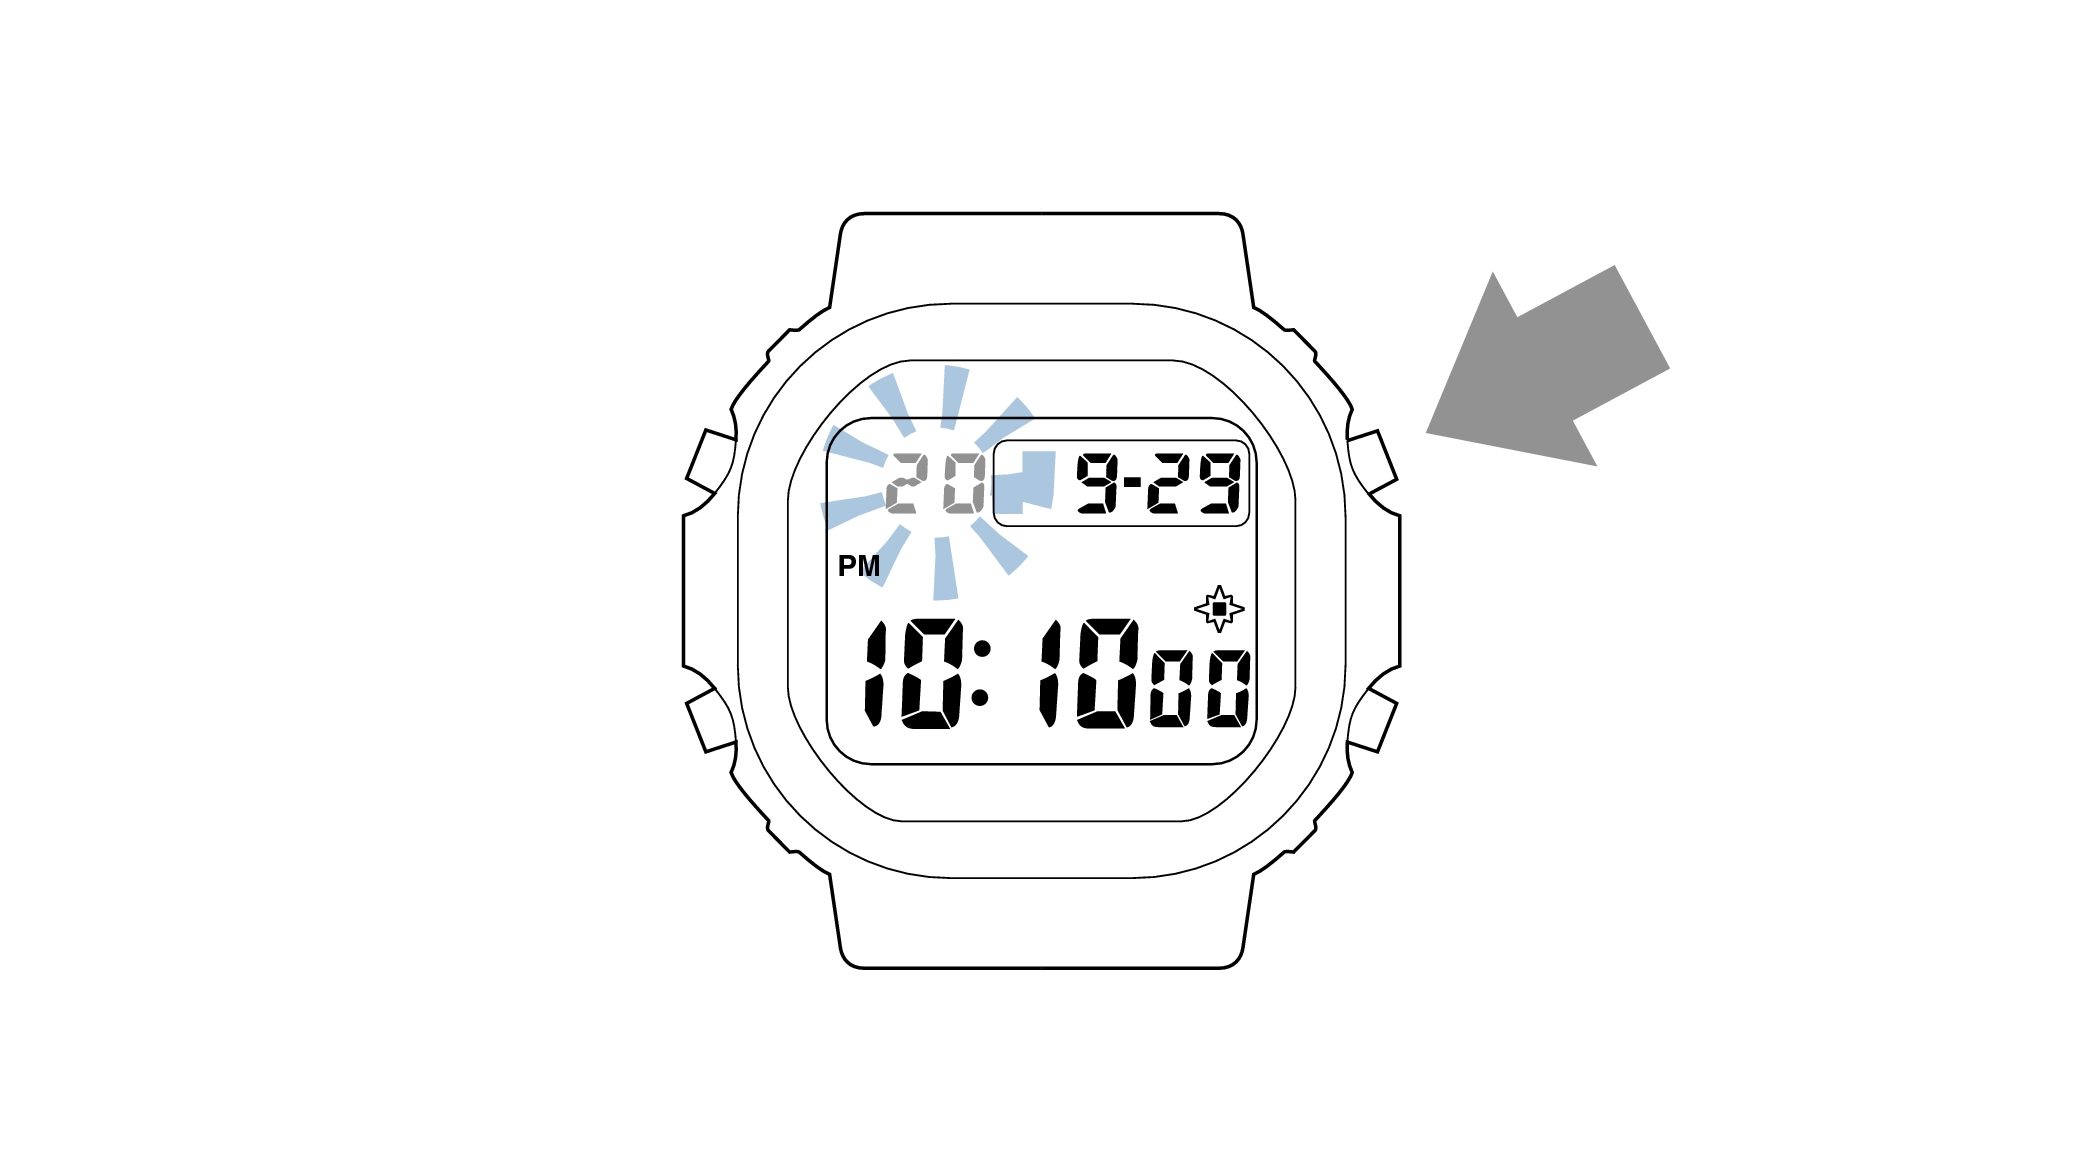
8.Press the upper right button and set the correct “year”.
-
The “year” can be set between 2000 and 2099. When the “year, month and day” are set correctly, the day of the week will be automatically calculated.
The calendar is a fully automatic calendar that will automatically determine leap years along with the number of days in a month.
-
9.Pressing the lower left button will switch to the “month” setting.
-
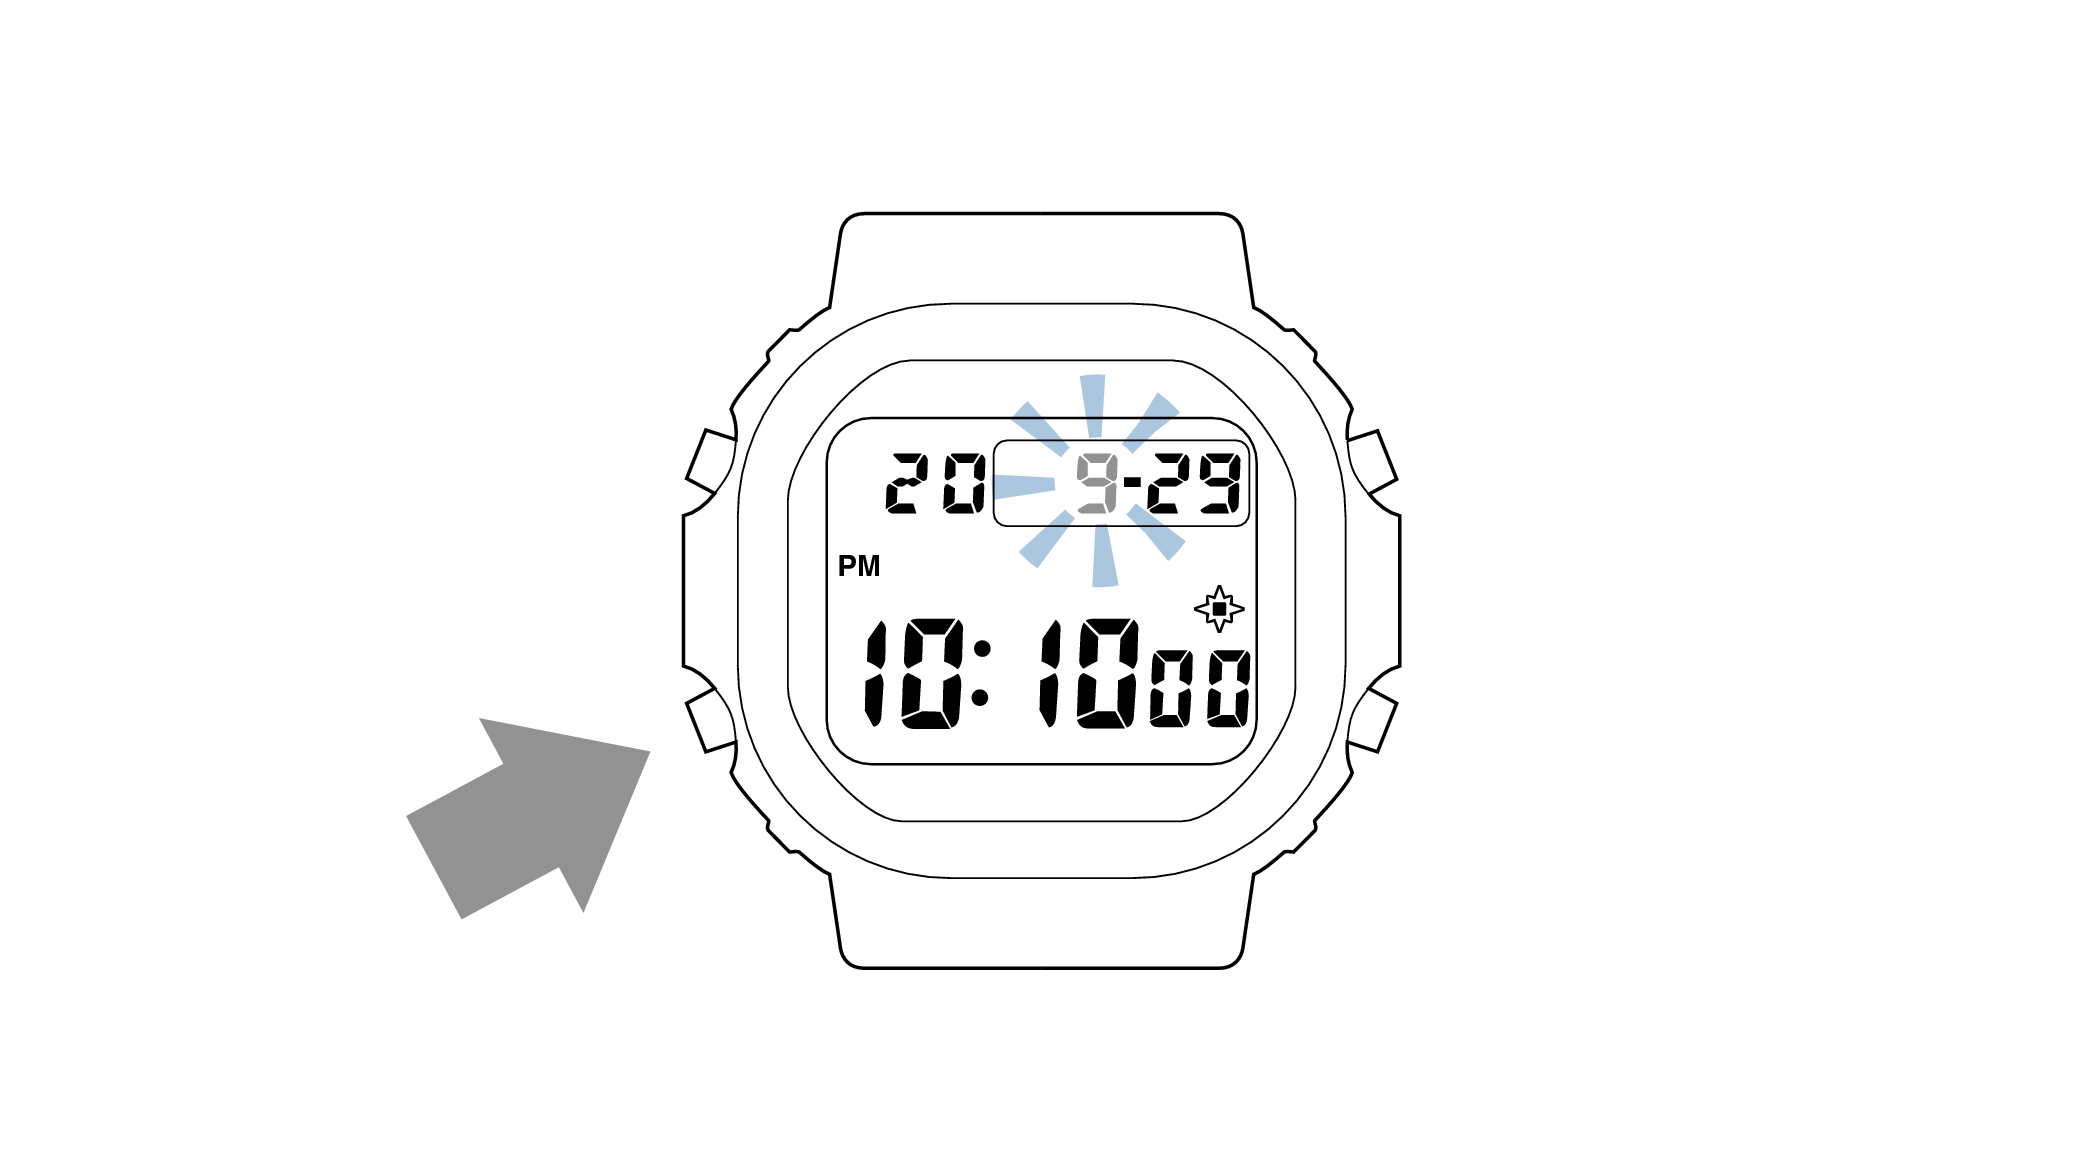
-
10.Press the upper right button and set the correct “month”.
-
-
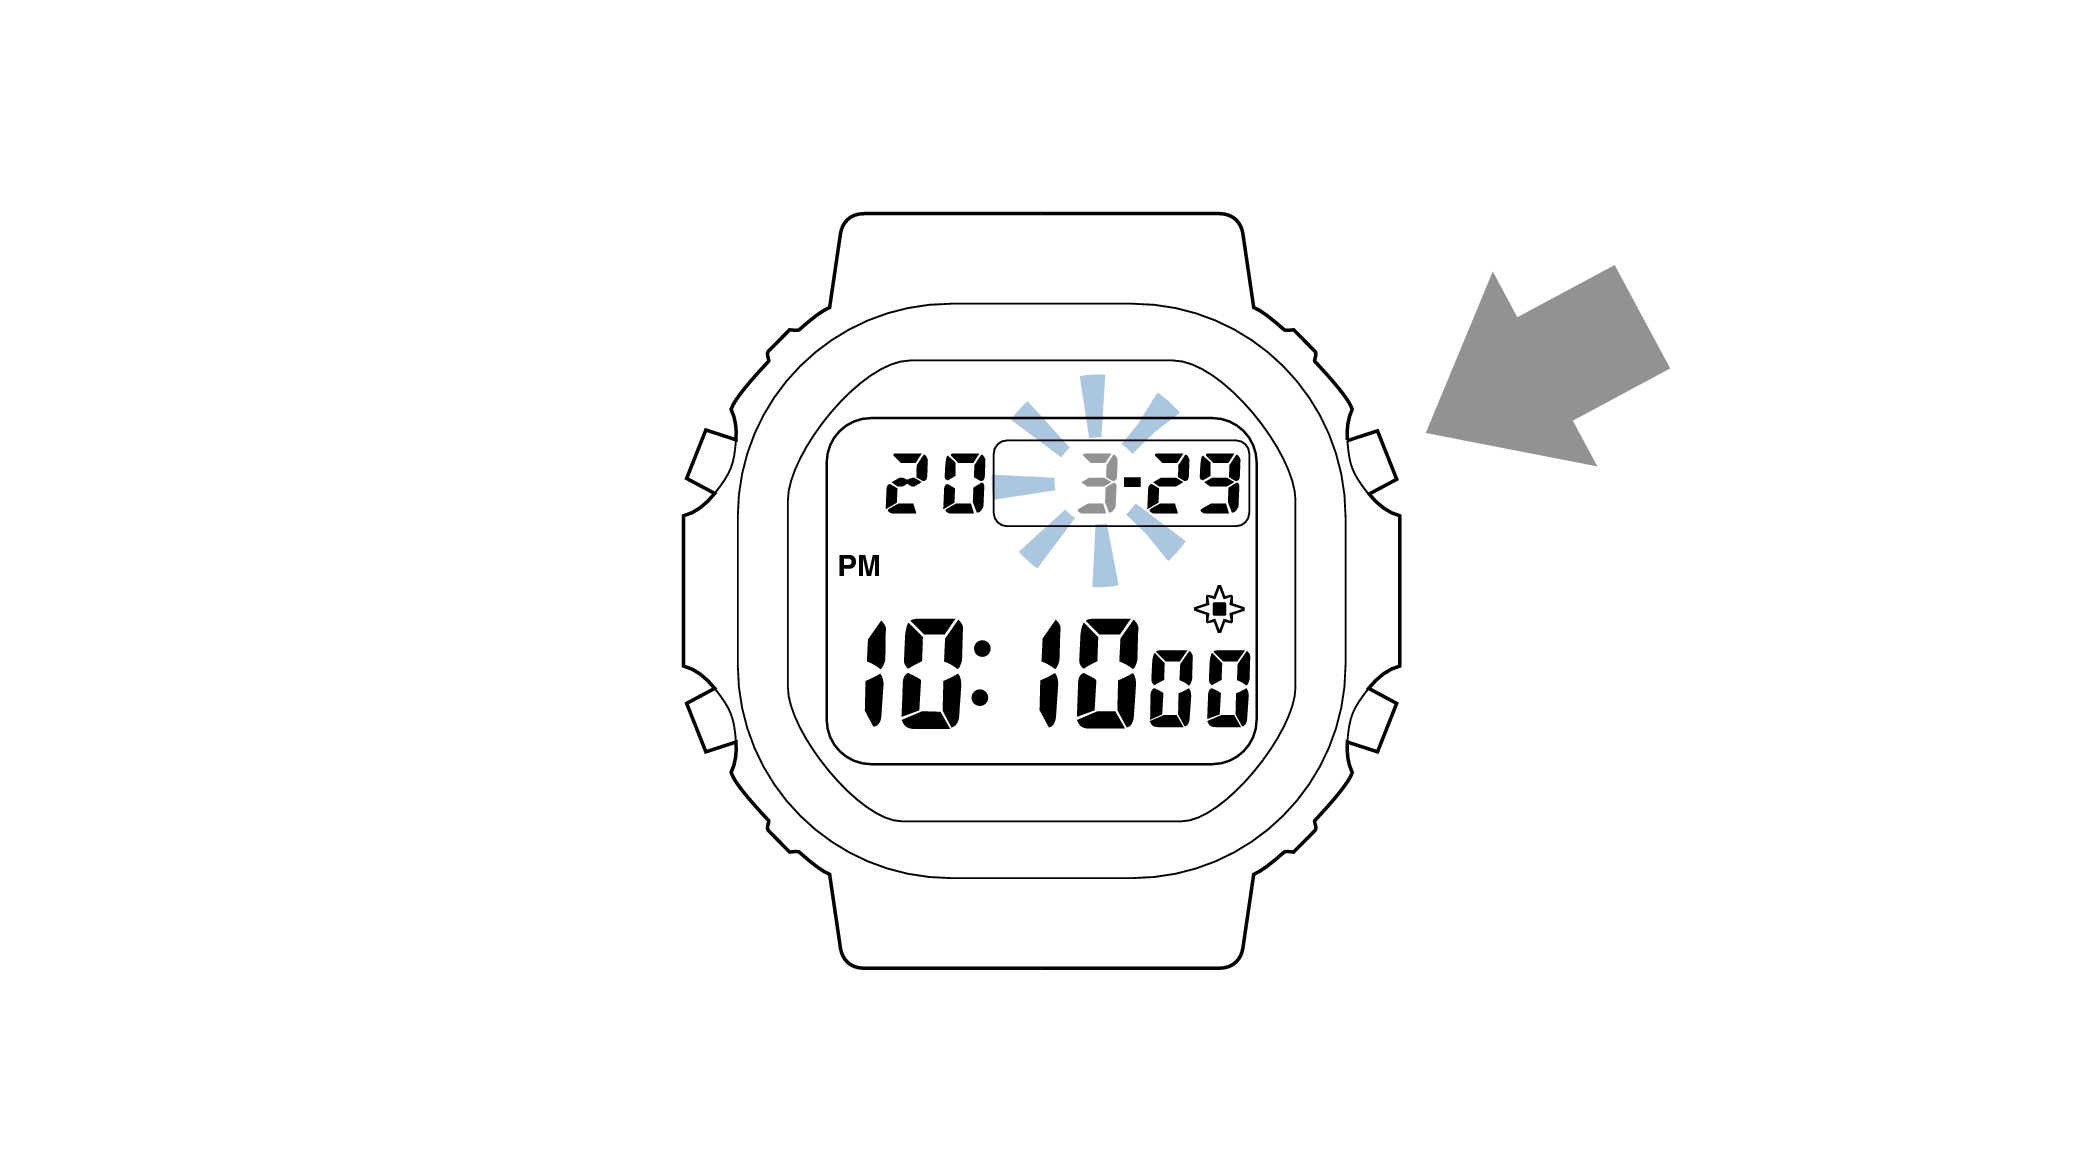
11.Pressing the lower left button will switch to the “day” setting.
-
-
12.Press the upper right button and set the correct “day”.
-

-
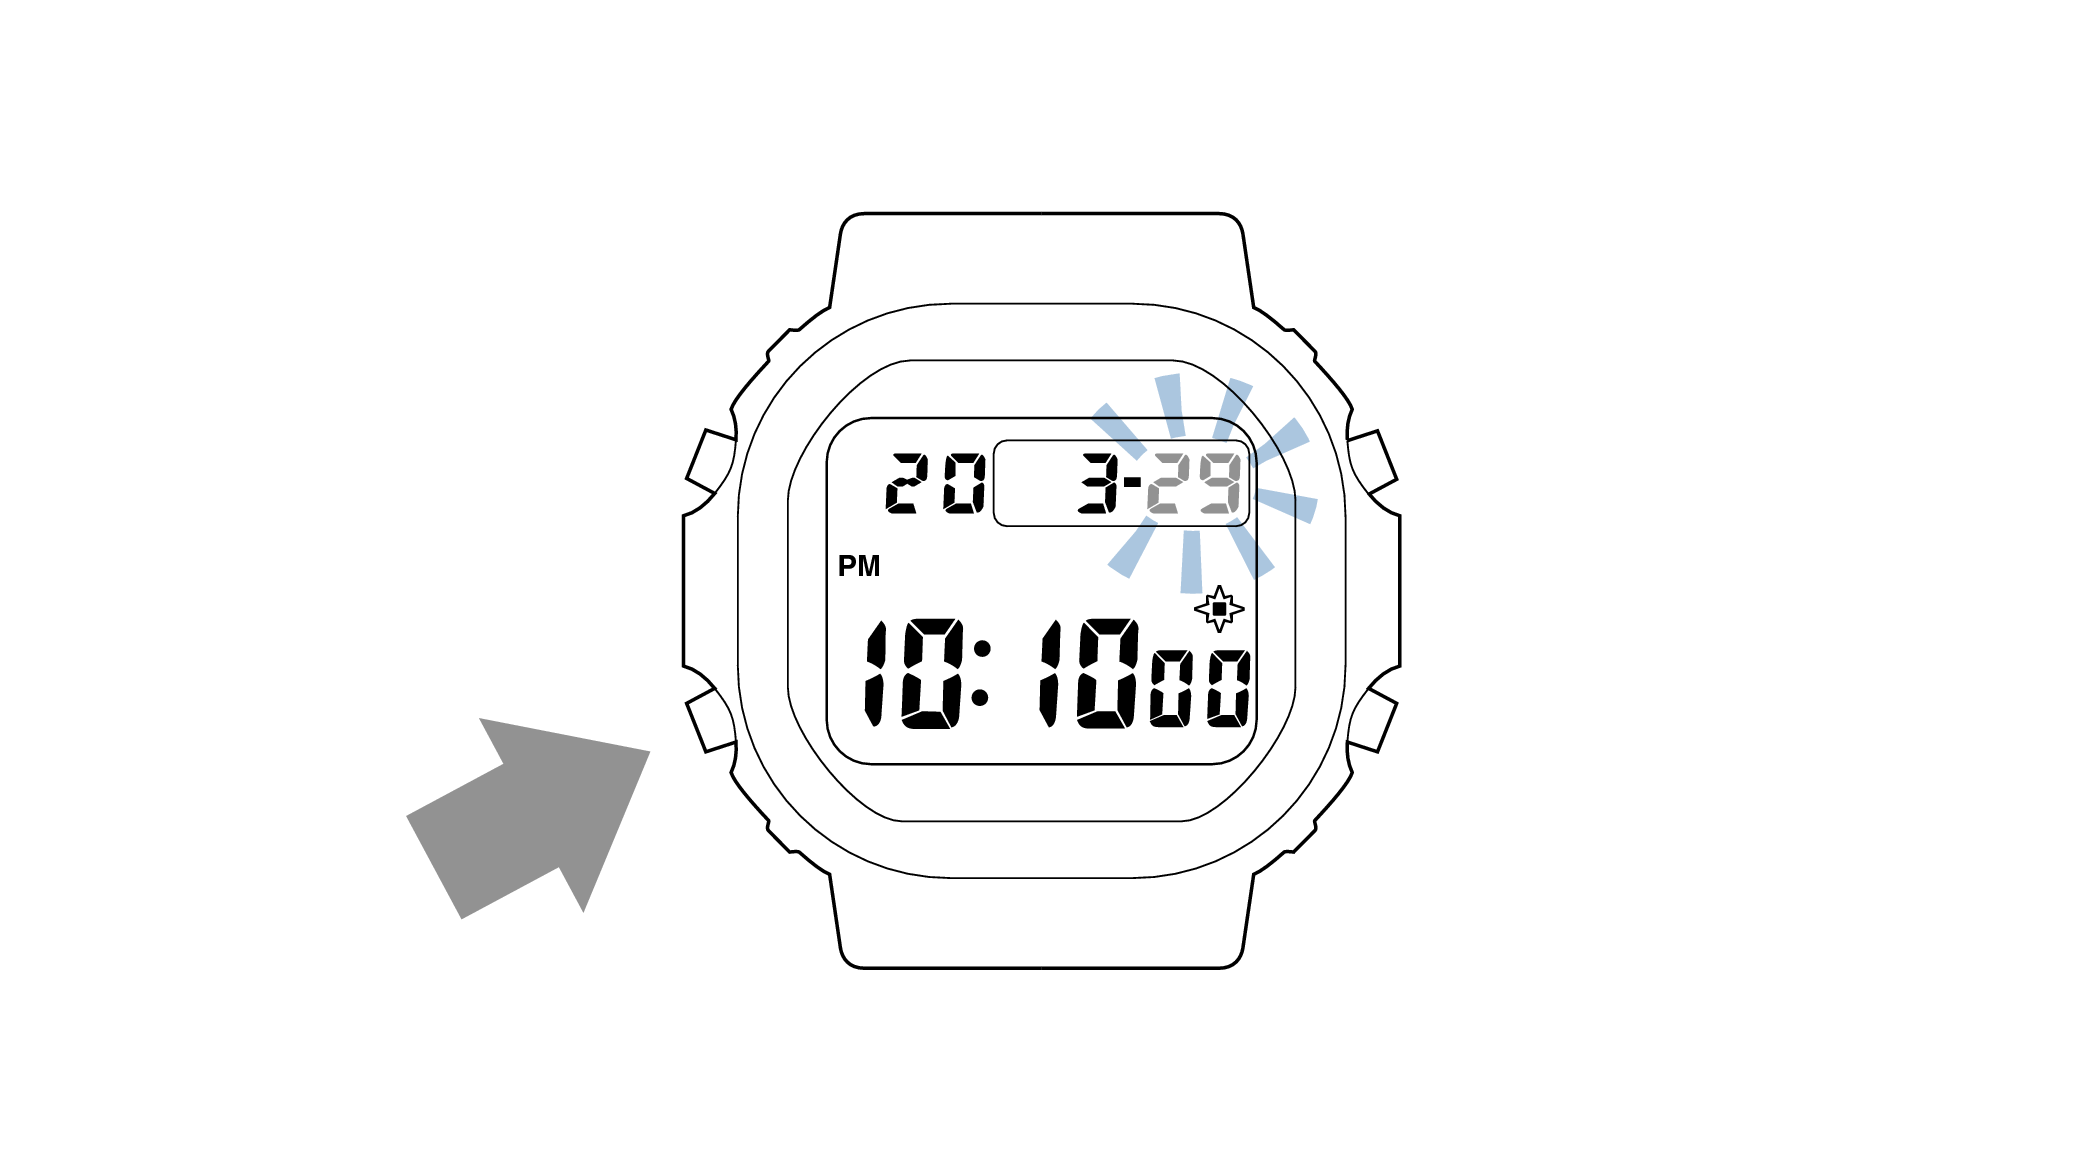
13.Press the upper left button to complete the configuration.
-