|
|
|
|
|
|
|
|
|
 |
| To install the update software on your controller |
| • |
Installation of this software requires a USB cable to connect the camera controller to a computer. |
| Windows Users |
| 1. |
Double-click the file you downloaded (EX-FR10_CTR_200_W.zip) to unzip it. |
|
EX-FR10_CTR_200_W.zip extracts to EX-FR10_CTR_200.exe. |
| 2. |
Double click “EX-FR10_CTR_200.exe” to start the installer. |
|
This will display a standby screen (Figure 1) on your computer. |
|
| Macintosh Users |
| 1. |
Double-click the file you downloaded (EX-FR10_CTR_200_M.zip) to unzip it. |
|
EX-FR10_CTR_200_M.zip extracts to EX-FR10_CTR_200.dmg. |
| 2. |
In the “EX-FR10_CTR_200” folder, double-click “EX-FR10_CTR_200” to start the installer. |
|
This will display a standby screen (Figure 1) on your computer. |
|
|
|
|
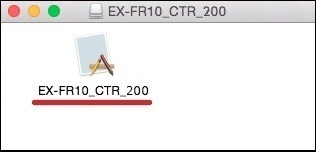
Macintosh |
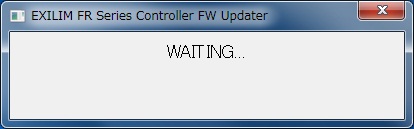 (Figure 1)
 |
|
|
The remainder of the procedure below is the same for both Windows and Macintosh. |
|
| 3. |
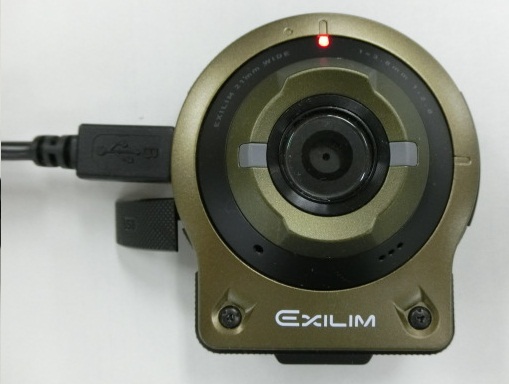
Use the micro USB cable provided with the camera to establish a USB connection between the camera controller and your computer. (Figure 2) |
|
|
i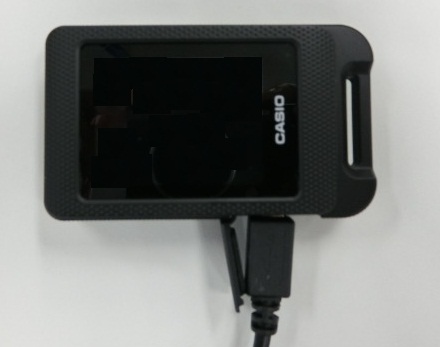 (Figure 2)
|
|
| 4. |
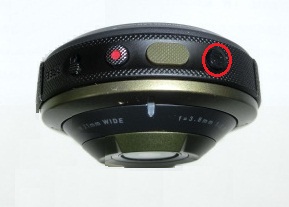
| While holding down the controller's movie button (I) and shutter button (II), press its power button (III) and wait for a moment. (Figure 3) |
| This will display a program update selection screen (Figure 4) on your computer. |
| • |
If the program update selection screen does not appear within about 30 seconds, check the USB connection. After confirming there is nothing wrong with the connection, repeat the above step: While holding down the controller's movie button (I) and shutter button (II), press its power button (III) and wait for a moment.
|
|
|
|
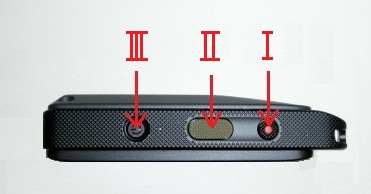
(Figure 3) |
 (Figure 4)
 |
|
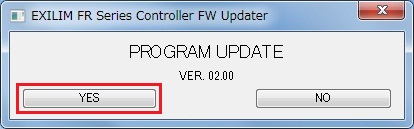
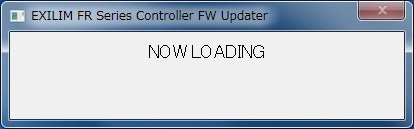
| 5. |
| On the program update selection screen (Figure 4), click [YES]. |
| This will display "NOWLOADING" on your computer screen, which indicates that program updating has started. (Figure 5) |
| • |
Program updating takes about four minutes to complete.
|
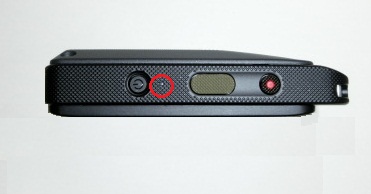
| • |
The controller LED will alternately flash red and orange while program updating is in progress. (Figure 6)
|
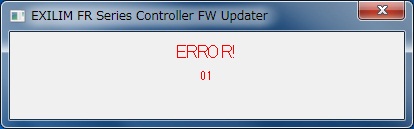
| • |
Disconnection of the micro USB cable while program updating is in progress will cause an error message (Figure 7) to appear on your computer screen. If this happens, close the error message (Figure 7) and then repeat the above procedure from step 3.
|
|
|
|
(Figure 5) |
 (Figure 6)
 |
|
|
(Figure 7) |
|
|
| 6. |
The message "COMPLETE" (Figure 8) will appear on your computer screen when program updating is complete. |
|
|
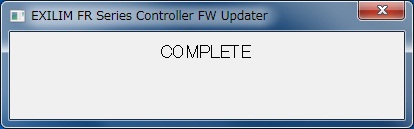
(Figure 8) |
|
|
| 7. |
After program updating is complete, turn controller power off and then disconnect it from your computer. |
|
|
|
|
|
|
|
| 13. |
Check if the firmware version has been updated. |
| |
1) |
Remove the memory card from the camera. |
| |
2) |
Turn on the camera and controller. Turning on power causes the camera and controller operation lamps to light green, and automatically starts an operation to establish a Bluetooth wireless technology connection between them. |
|
|
- If the camera firmware version is lower than 2.00, a message will appear on the controller monitor screen (Figure 11). If this happens, perform steps 8 through 12 under "To install the update software on your camera". |
|
i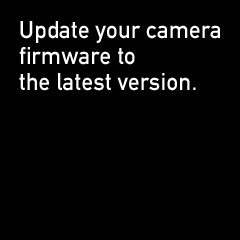 (Figure 11)
|
|
|
- If the controller firmware version is lower than 2.00, the camera LED will flash red. If this happens, perform steps 1 through 7 under "To install the update software on your controller". |
|
|
On the camera's monitor screen (Figure 12), touch the home icon to display the home screen. (Figure 13) |
|
|
Next, touch "MENU". (Figure 13) |
|
|
 (Figure 12)
 |
 (Figure 13)
 |
|
|
|
| |
4) |
Touch the down arrow icon in the lower right corner (Figure 14) to display "SetUp". (Figure 15) |
|
|
Next, touch "SetUp". (Figure 15) |
|
|
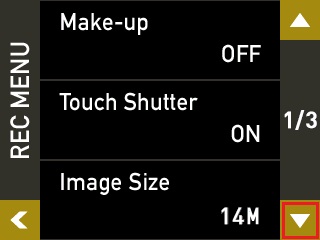 (Figure 14)
 |
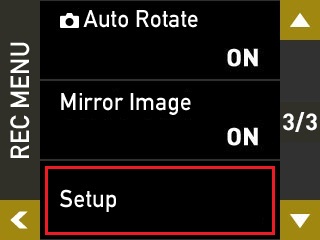 (Figure 15)
 |
|
|
|
| |
5) |
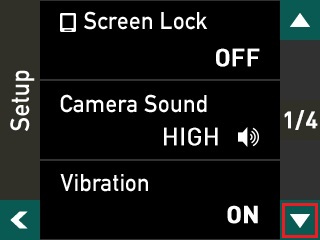
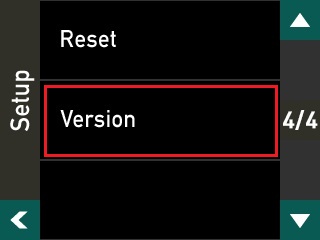
Touch the down arrow icon in the lower right corner (Figure 16) to display "Version". (Figure 17) |
|
|
Next, touch "Version". (Figure 17) |
|
|
 (Figure 16)
 |
 (Figure 17)
 |
|
|
|
| |
6) |
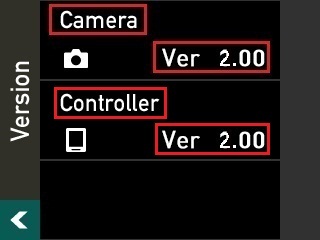
If "Ver 2.00" is displayed for the camera and controller firmware version, it means that firmware update installation was successful. (Figure 18) |
|
|
(Figure 18)
|
|
|
|
|
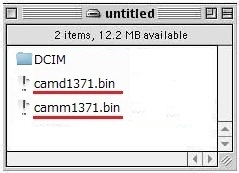
After confirming that the firmware version is correct, delete the camm1371.BIN and camd1371.BIN files from the memory card. To delete the files, reload the memory card into the camera, connect the camera to your computer, and then delete the camm1371.BIN and camd1371.BIN files. |
|
|
|
|
|
|
|
|
|
|
Important! |
|
|
| * |
Before installing the firmware update, be sure you back up the data in camera memory to a memory card or your computer's hard disk. |
| * |
Installing the update software can cause changes in the camera's image memory size, camera startup time, recording time, recording interval, user settings, etc. |
| * |
If firmware update installation is interrupted due to low battery power, your camera will no longer be able to operate. Be sure to fully charge the camera's battery before starting the firmware update installation procedure. |
| * |
If you are unable to restart your camera after installing the update software, contact your local Authorized CASIO Service. Tell them you need assistance because your camera will not restart after installing EX-FR10 firmware. |
| * |
Note that installation of the update software cannot be undone. Once you install the update software, there is no way to restore your camera to its original firmware version.
|
|
|